Relations
Introduction
We have already learned how to determine what type of data you want to store in the system using Types and how to determine what attributes your objects will have using help Attributes. But there are a lot of cases when you have relationships between objects, for example, when your image is associated with some product, or the product is somehow related to another product, etc. All this information can be stored in the system using Relations.
Relation defines a relationship between two objects, it has a direction, so it starts from some object and goes to some target.
Defining the main image of the product
Let's take a look at how to use relations to define the main image of a product. We have already learned how to upload images to the system, see the "Storing assets (images, videos or other files)" section of the "Types" chapter for details. Now, let's go to the Settings - Relations and add such relation:

We added a relationship in which we selected the Product type as the source and the Image type as the target. So this is the relationship of the product to the image.
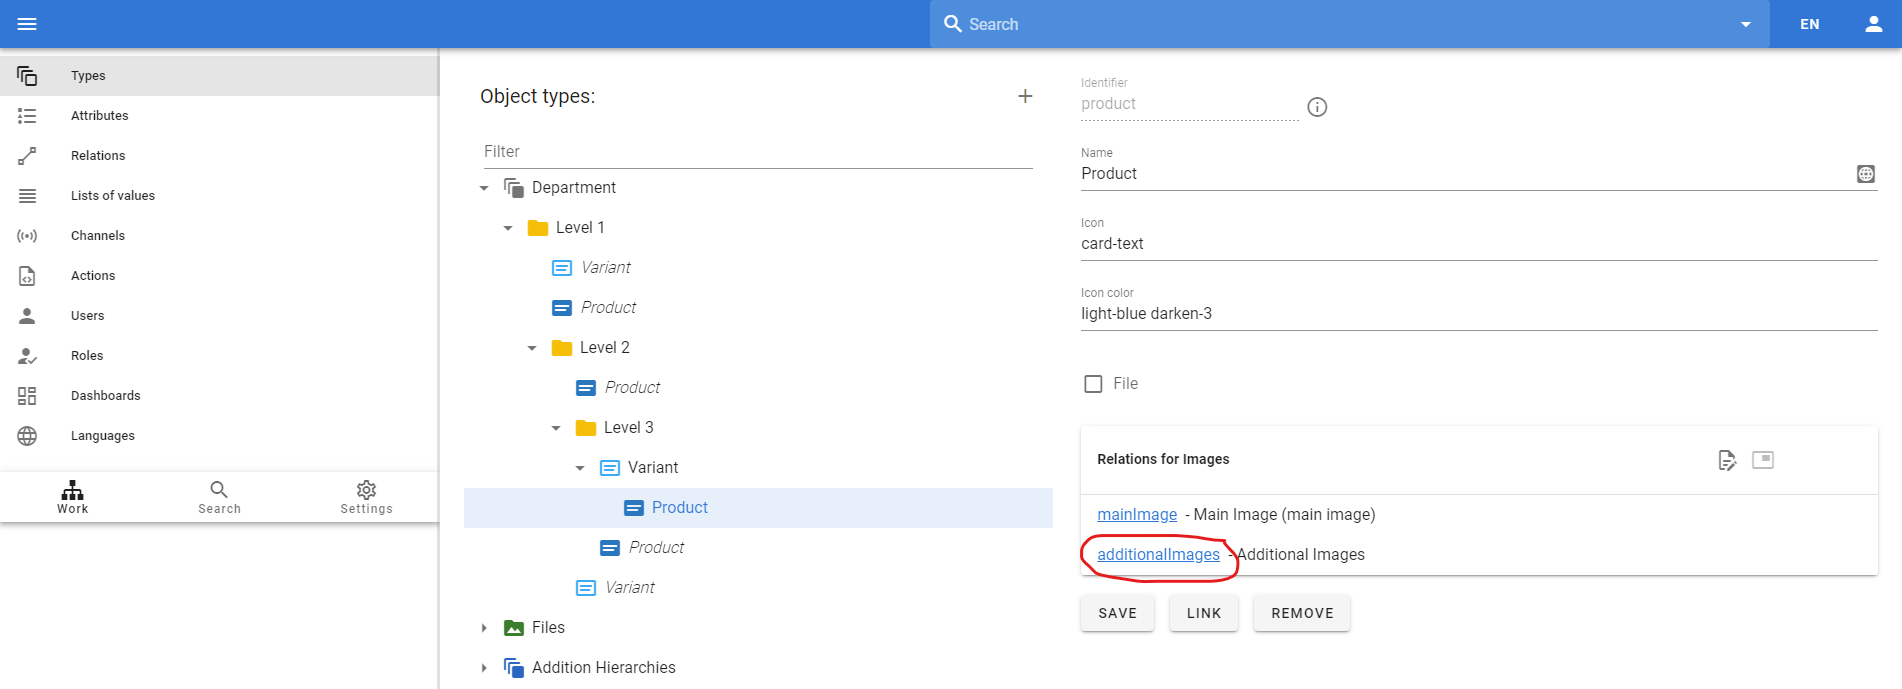
Now let's move on to the product type and define that this relationship is used for the main image.
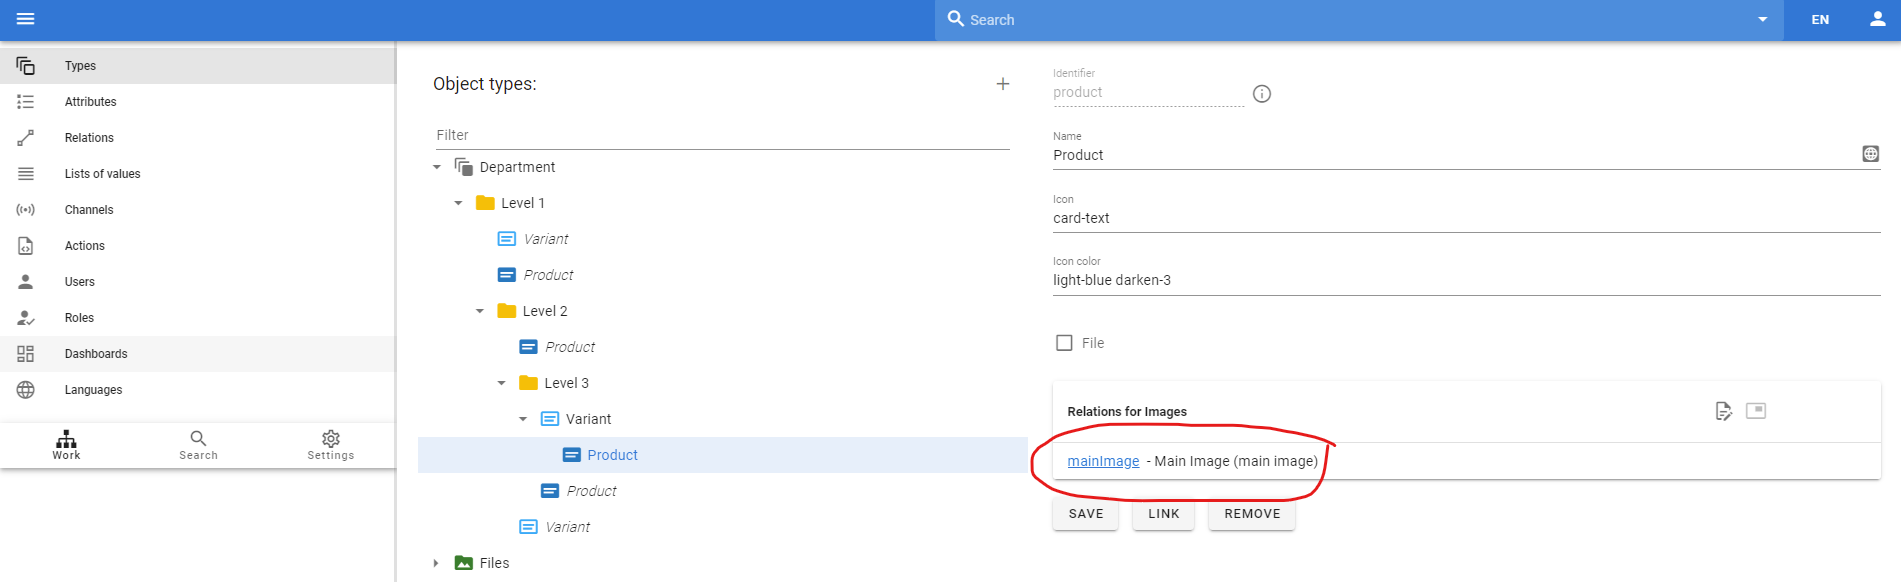
We used the  button to indicate that this link is for images, and the
  button to indicate that it is main picture product.
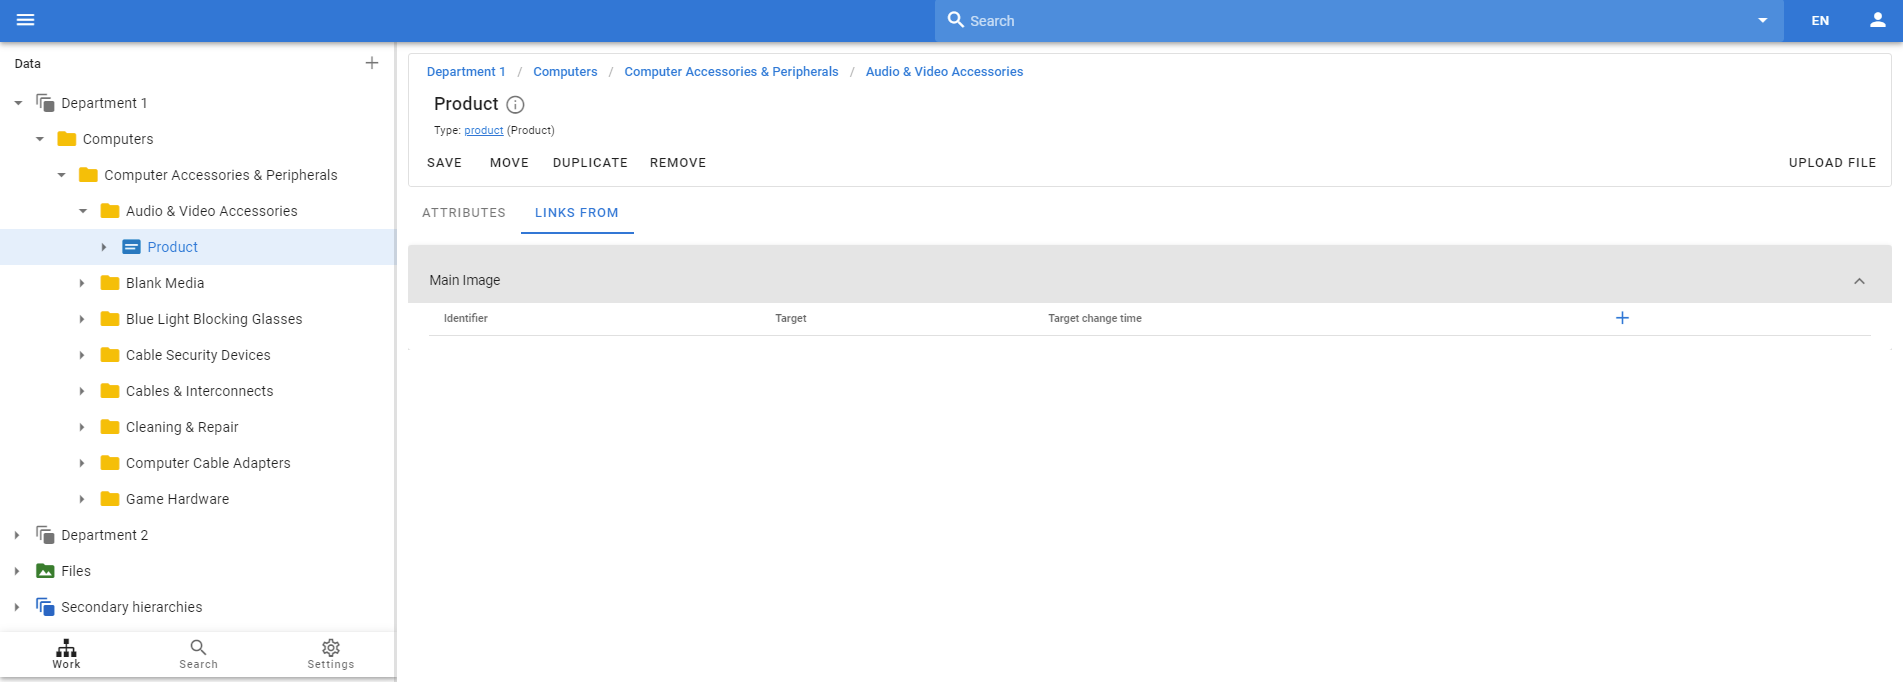
After that we can go to the Work area and associate some uploaded image with the product as the main image. First select the desired product and go to the Links From tab, there you will see the Main Image relations. Is is empty now.
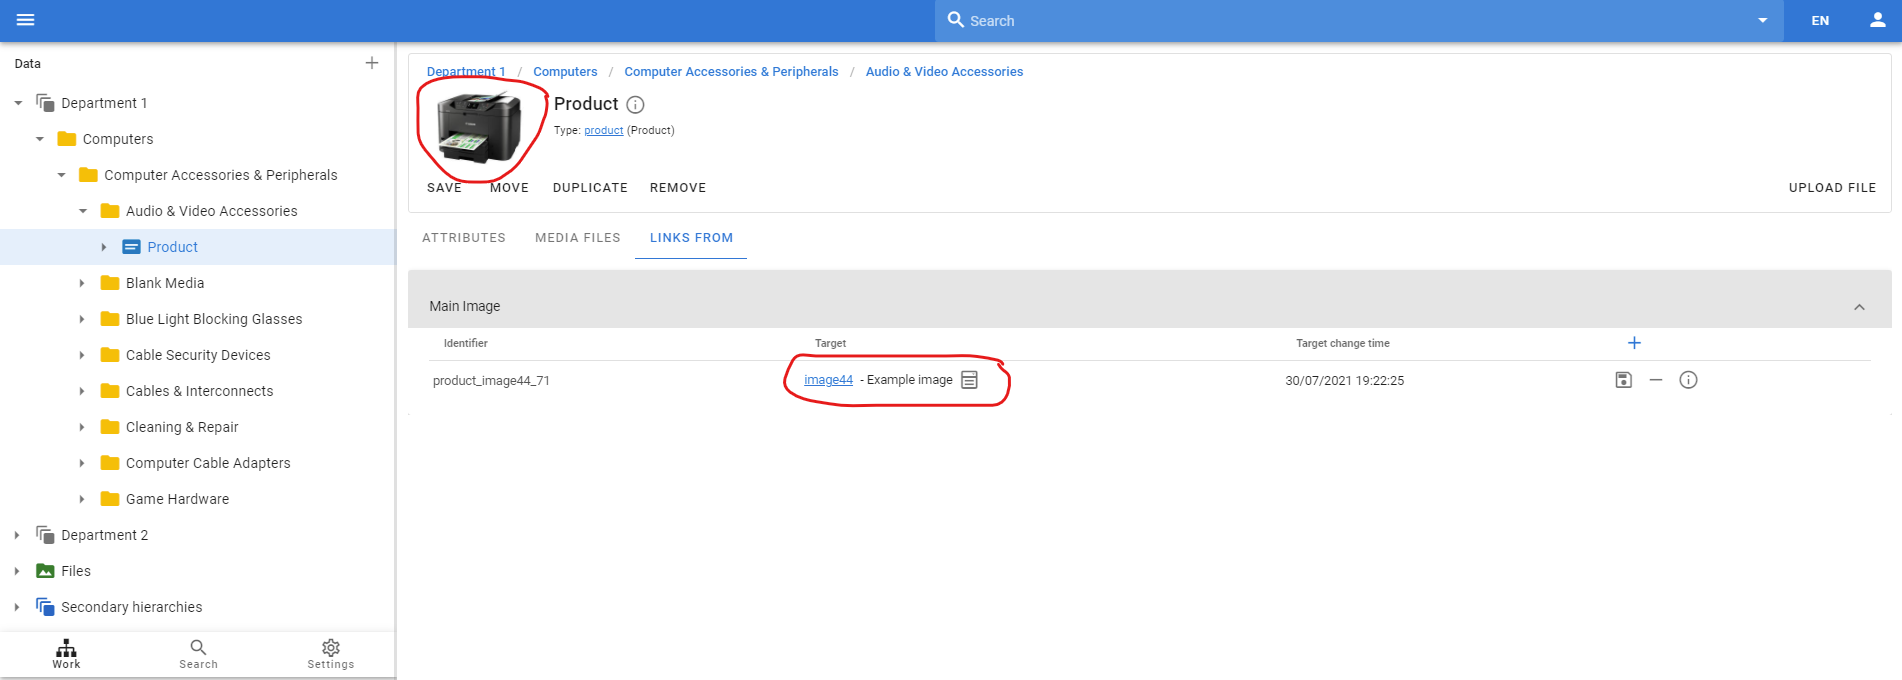
Click the plus button and use the  button to select an existing uploaded image. Do not forget to click at
  button so save your changes. As a result, you will have an image associated with that product and it will be the main product image, so it will appear in the title area of the product.
Associating additional images with a product
We have defined the main image of the product. We can only have one main image. Now let's define some additional images. We will add one more relation:
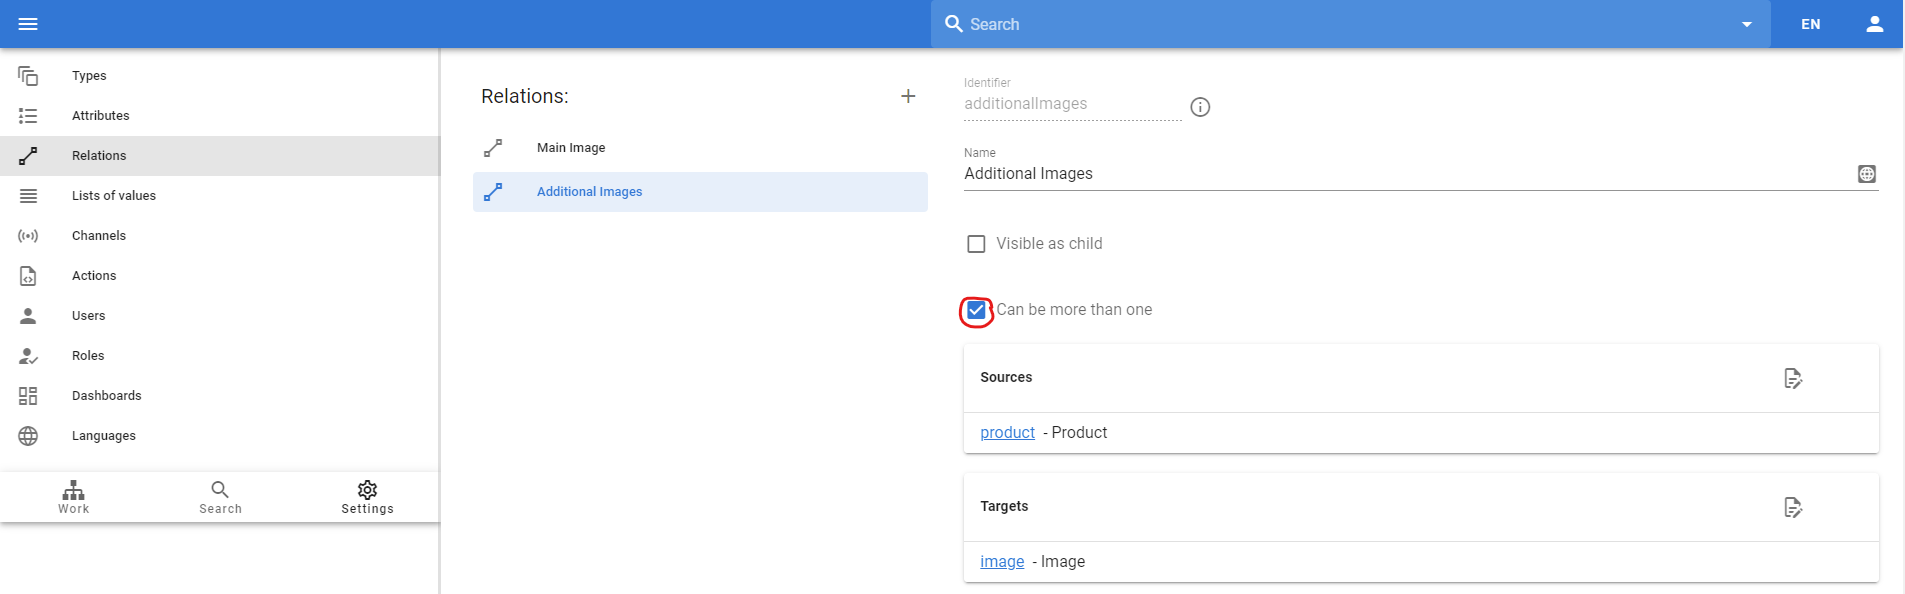
Please note that we have selected the Can be more then one option so that we can associate multiple additional images with the same product. We also have the Product type as the source and the Image type as the target.
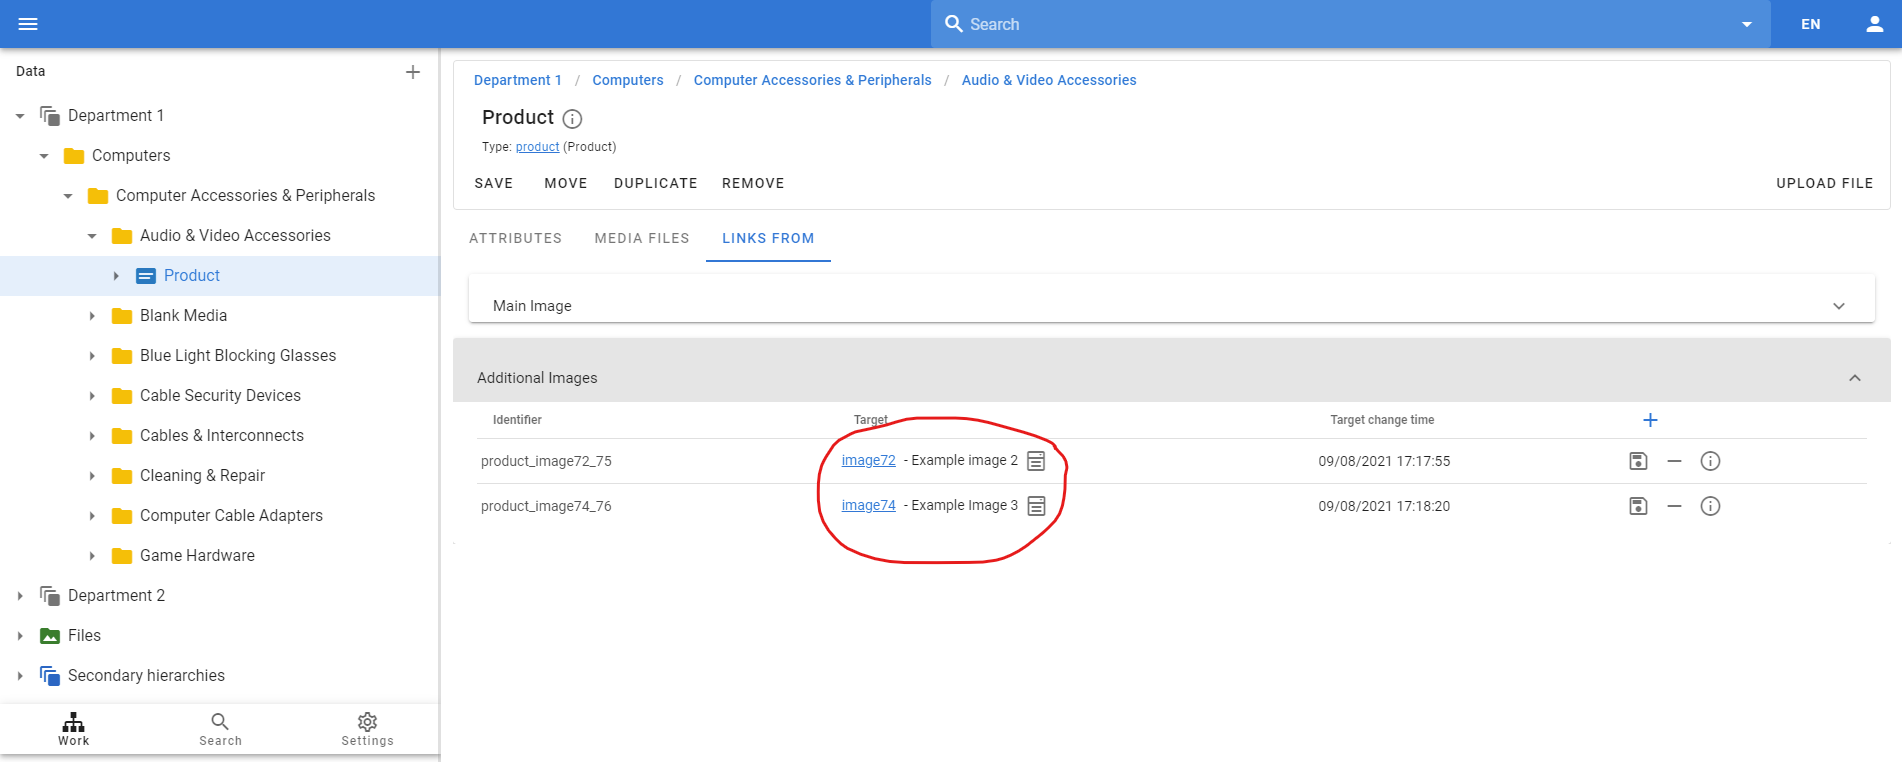
And now we also should navigate to corresponding type and define that this relationship is used for the images.
After that, we can go to any products and link the images (which we pre-loaded into the system).
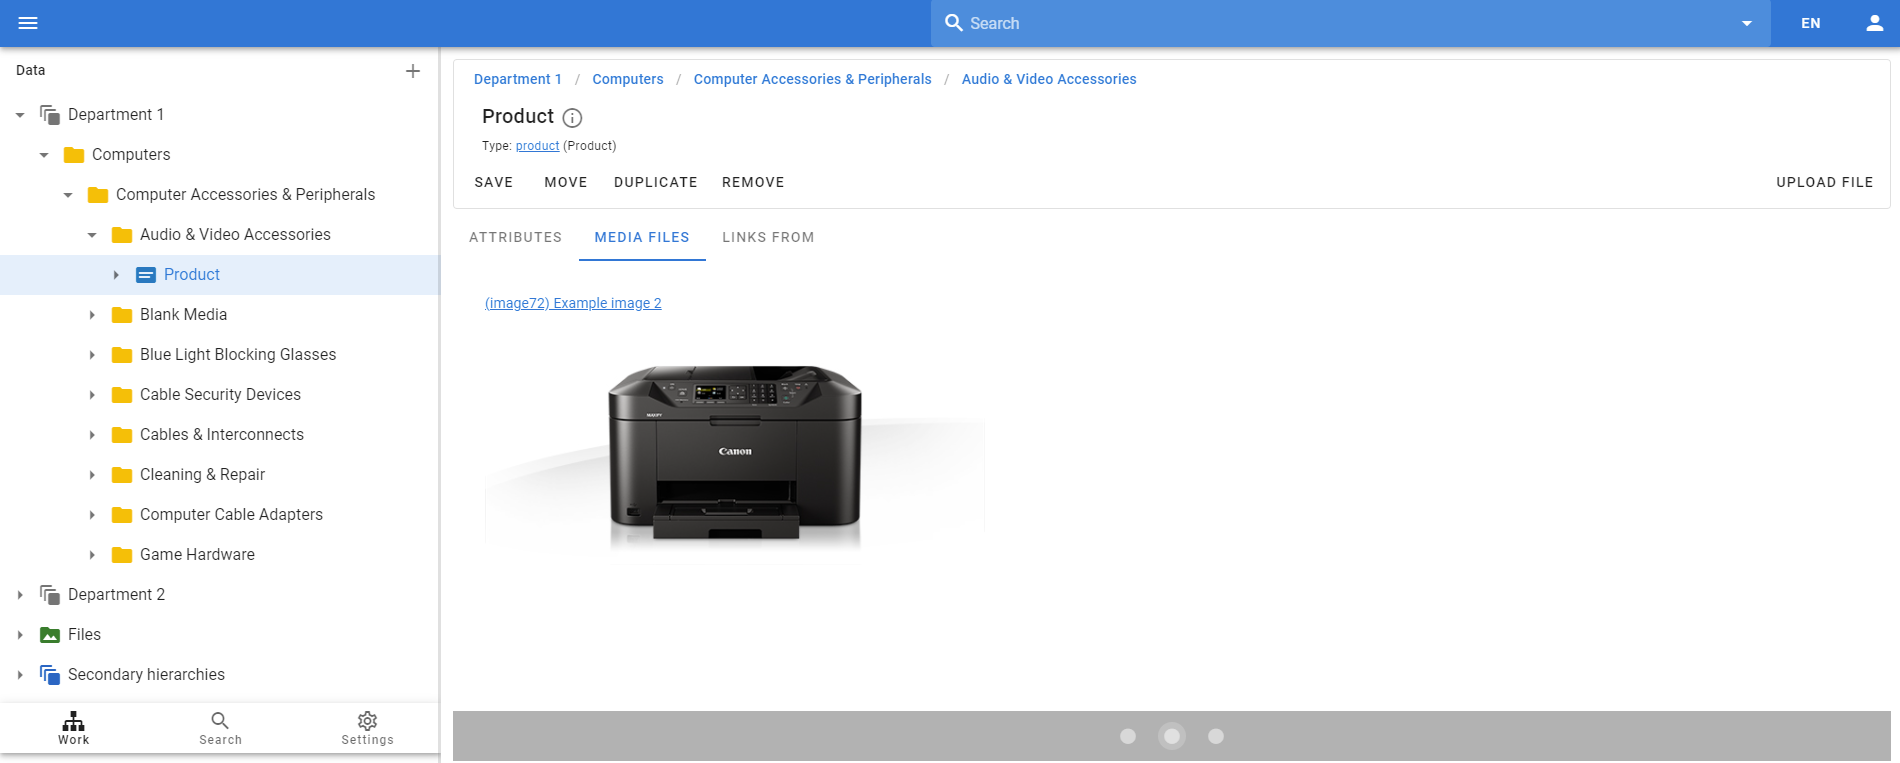
All associated files and images are also visible in the Media Files tab.
Associating other files to a product
We can assign not only images to a product, but also other file types. Let's define, for example, relations for documentation and certification.
First, we have to define the relation in the same way as we did for images:
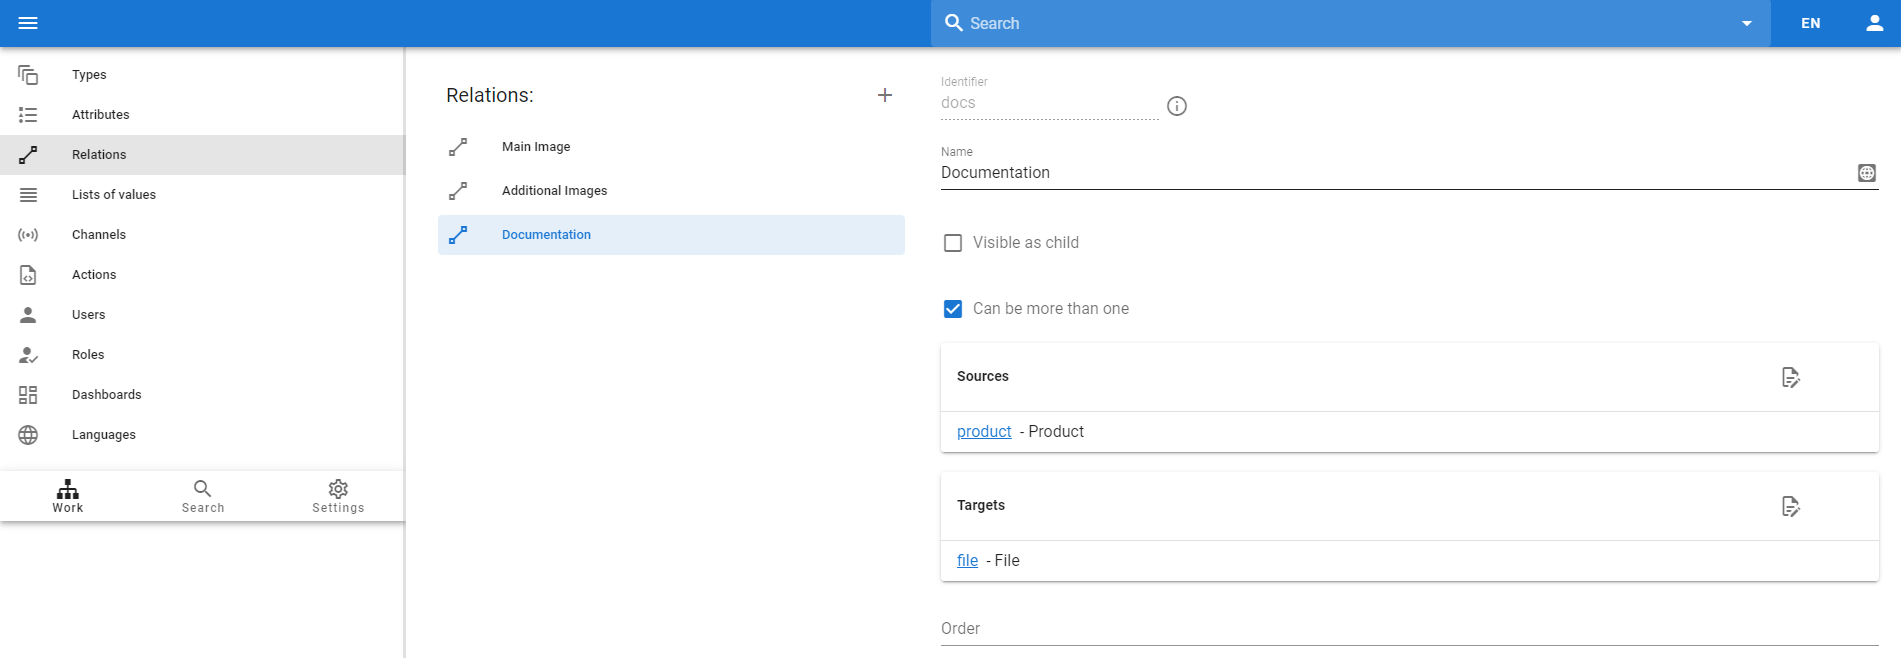
This is the relation for Documents. It has a source - a product and a file as a target. In addition, more than one file can be attached to the product as a document.
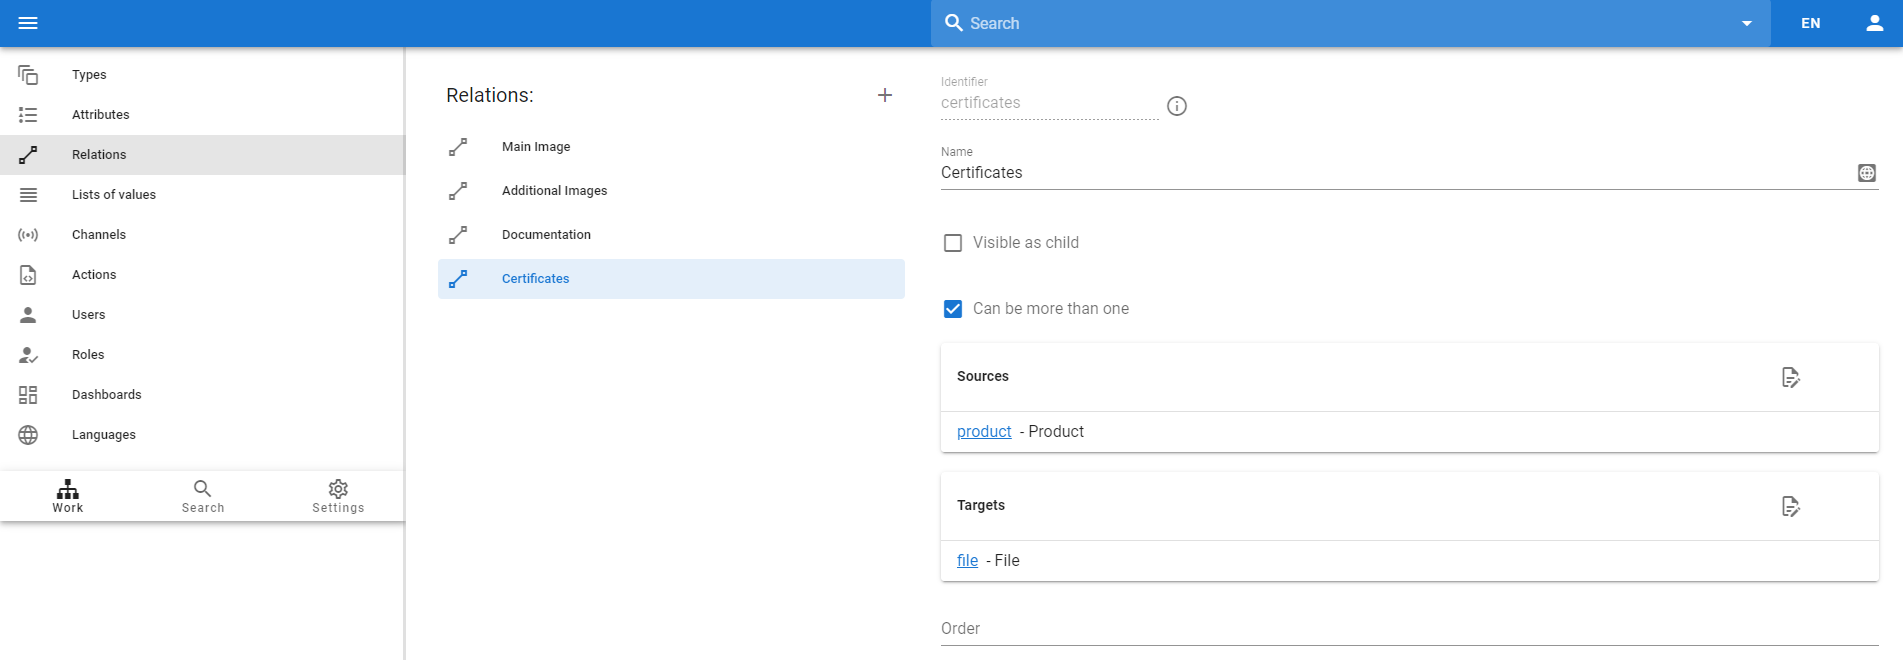
And this is similar, but for certificates.
So we can now assign files of different types to our product
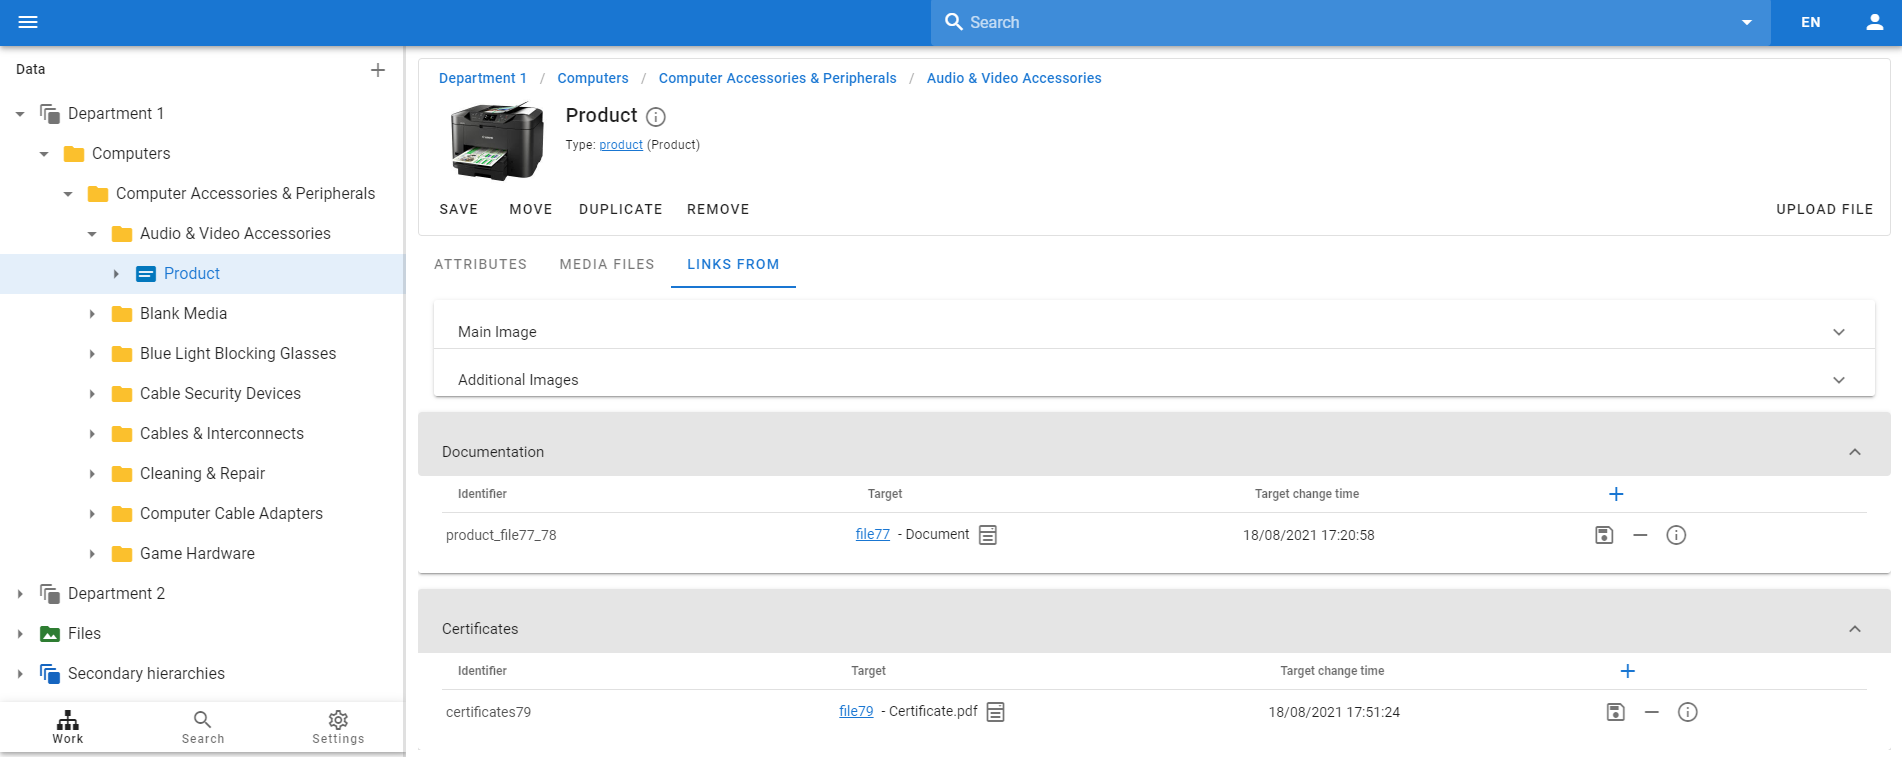
And these files will also be visible in the Media Files tab.

Associating files to other objects (not just products)
We show with examples how to set up a relation (link) between a product and any file or image. But the basic idea is that a product is just some type in the system. Thus, you can use the same approach to link files or images not only to products, but to any other object in the system.
For example, you can link images to the categories in the system (Level 1, Level 2 and Level 3 in our data model). Or, we can load brands into the system as a separate type and associate marketing materials with it, such as a brand logo, brochures, etc.
We can determine the relations between a file and any other object in the system, or even the relations between files. Just define what is the source type and what is the target.
Upload File Button
Therefore, when you want to assign some image or any other file to a product or other object in the system, you must first create an object that will contain the file, then load the file into it, and then associate the file object with the product (or other object) ... But this is not convenient.
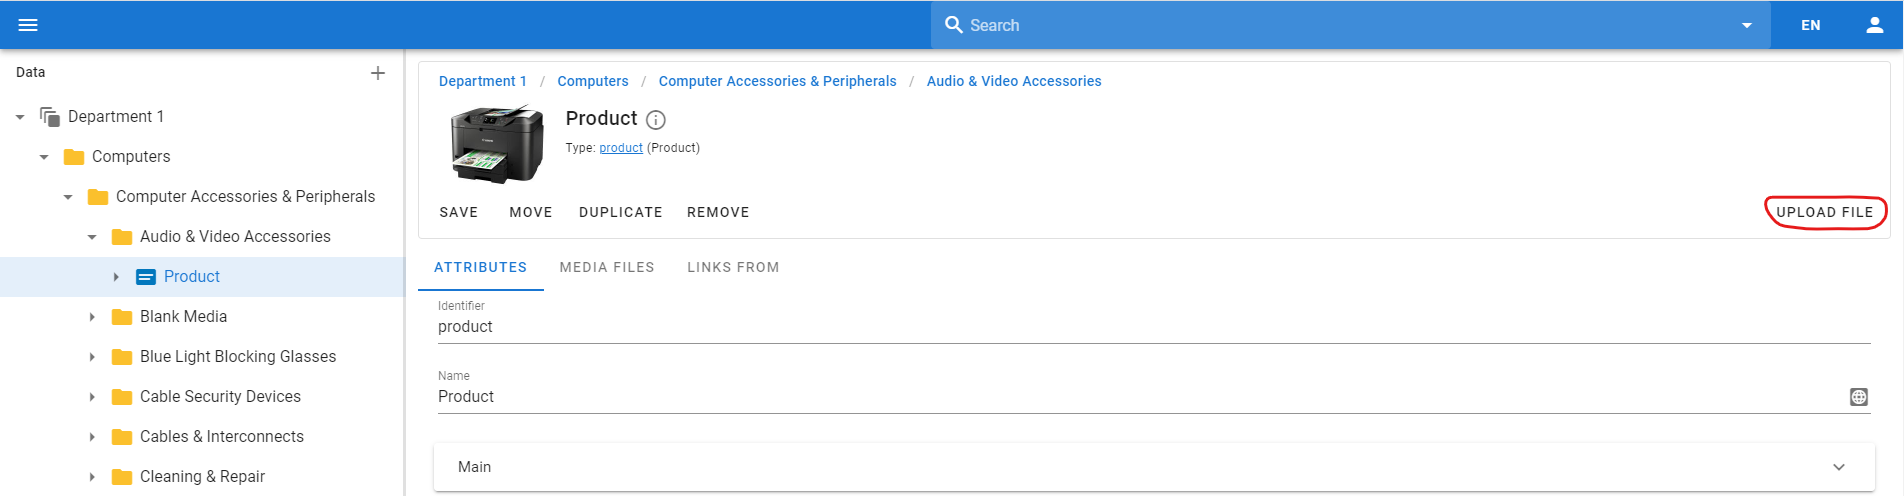
The system has special functionality that allows you to perform all these actions in one operation. After you define the relation to the file, you will see the button "Upload file" on the corresponding object which allows you to create, upload and assign a file or image:
After clicking on this button, you will see the following dialog:
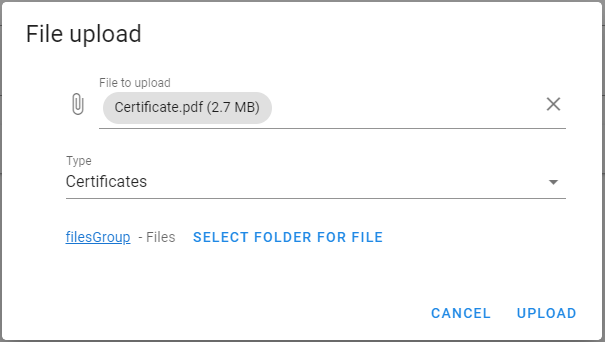
Where you have to specify which file to load, which type of relation to use to associate with the object, and where to place the created file object. After clicking on the Upload button, the file object will be created in the specified location, the file will be loaded into it and will be associated with this object.
Linking products to additional hierarchies
It is possible to load addition hierarchies into the system, please refer to the section "Multiple hierarchies" on the "Types" chapter.
But we also need to link the product to the appropriate categories. And we have to define a relation for this:
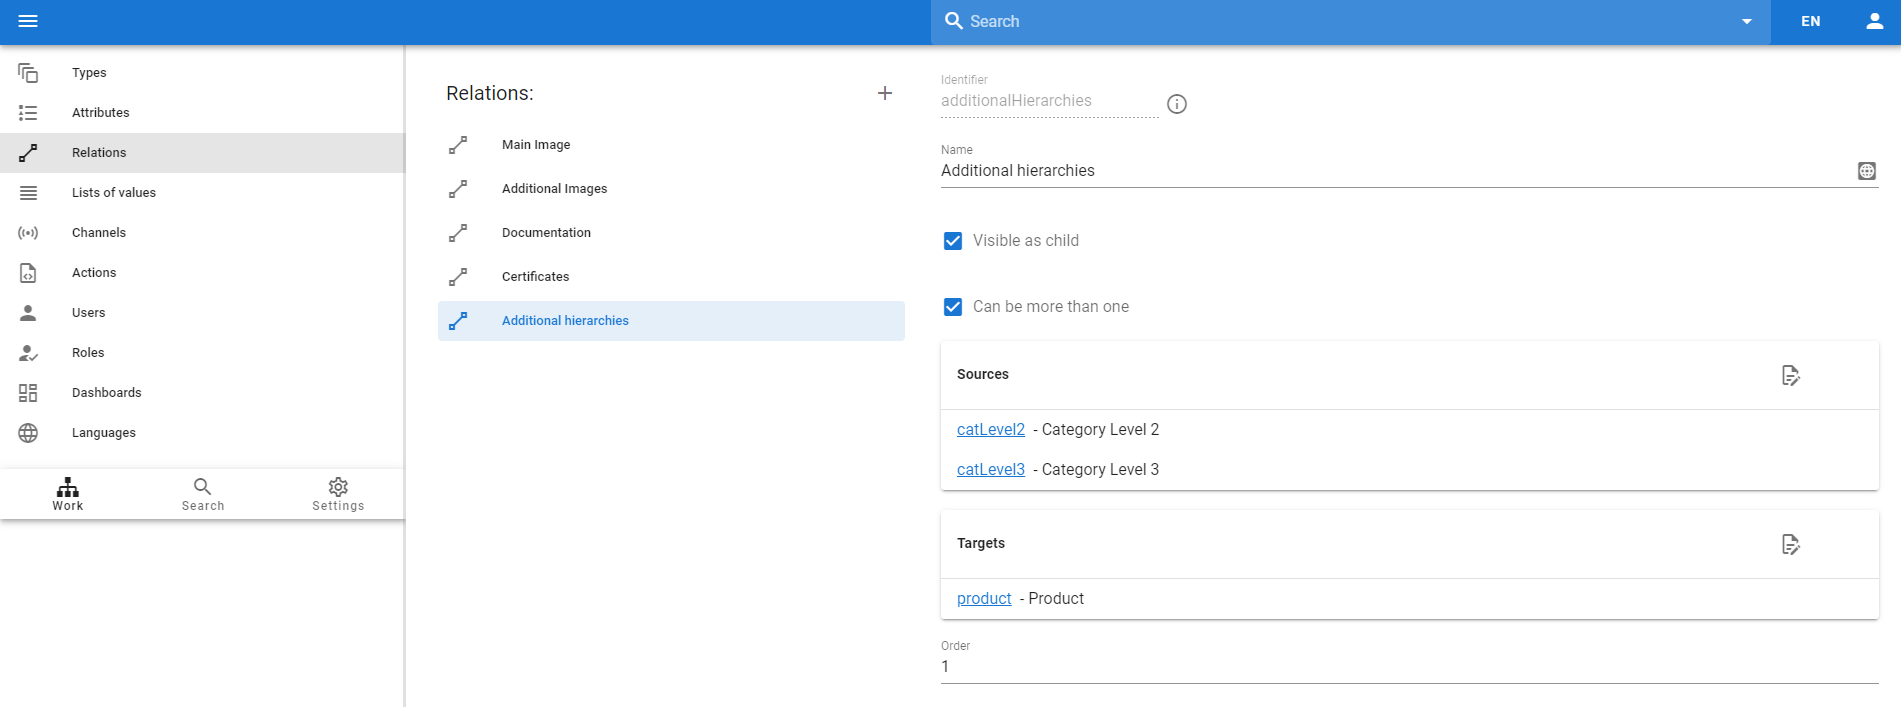
Please note that we have selected Category 2 level and Category 3 level as the source and Product as the target, which means that we will be able to associate products with any category at these 2 levels. We also selected the options Visible as child (to display products in a category in the object tree) and Can be more then one (to be able to associate more than one product with a category).
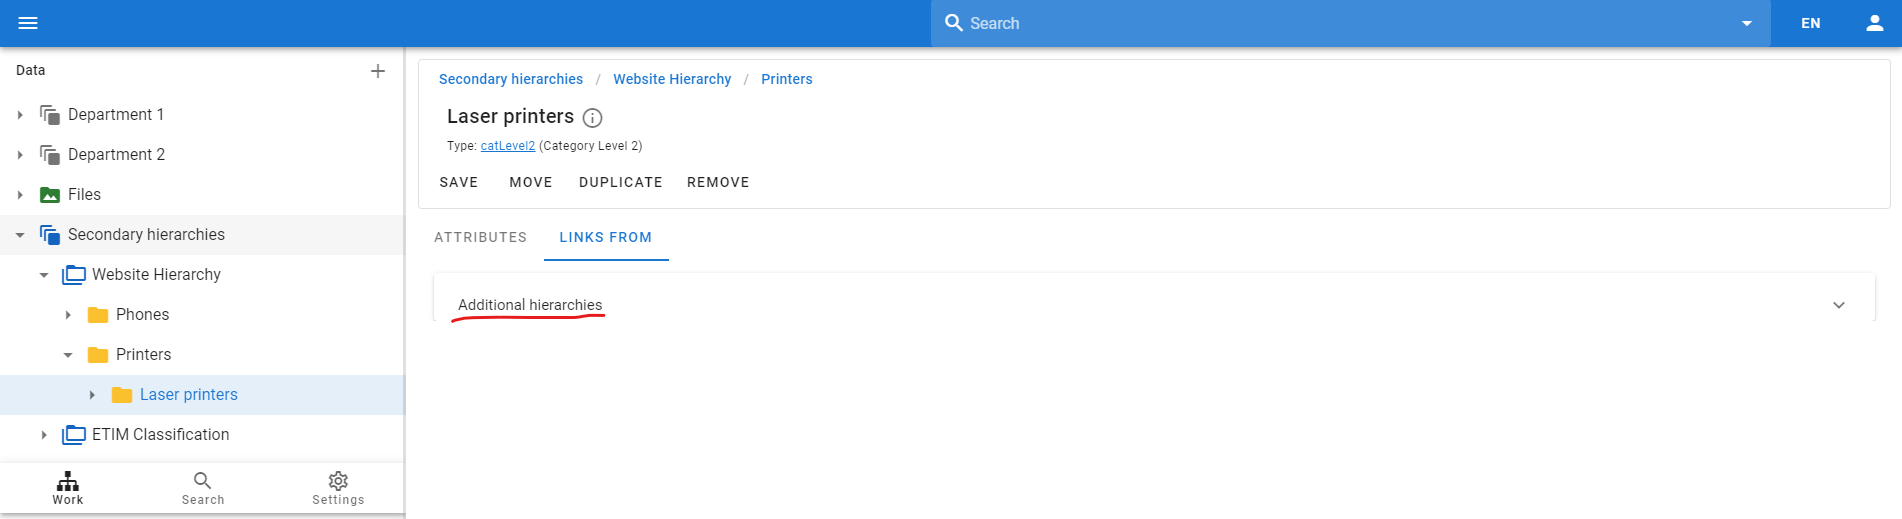
Now we can go to the desired category and see the following relation:
We can add some product as a target, and we will see that it is associated with a category:
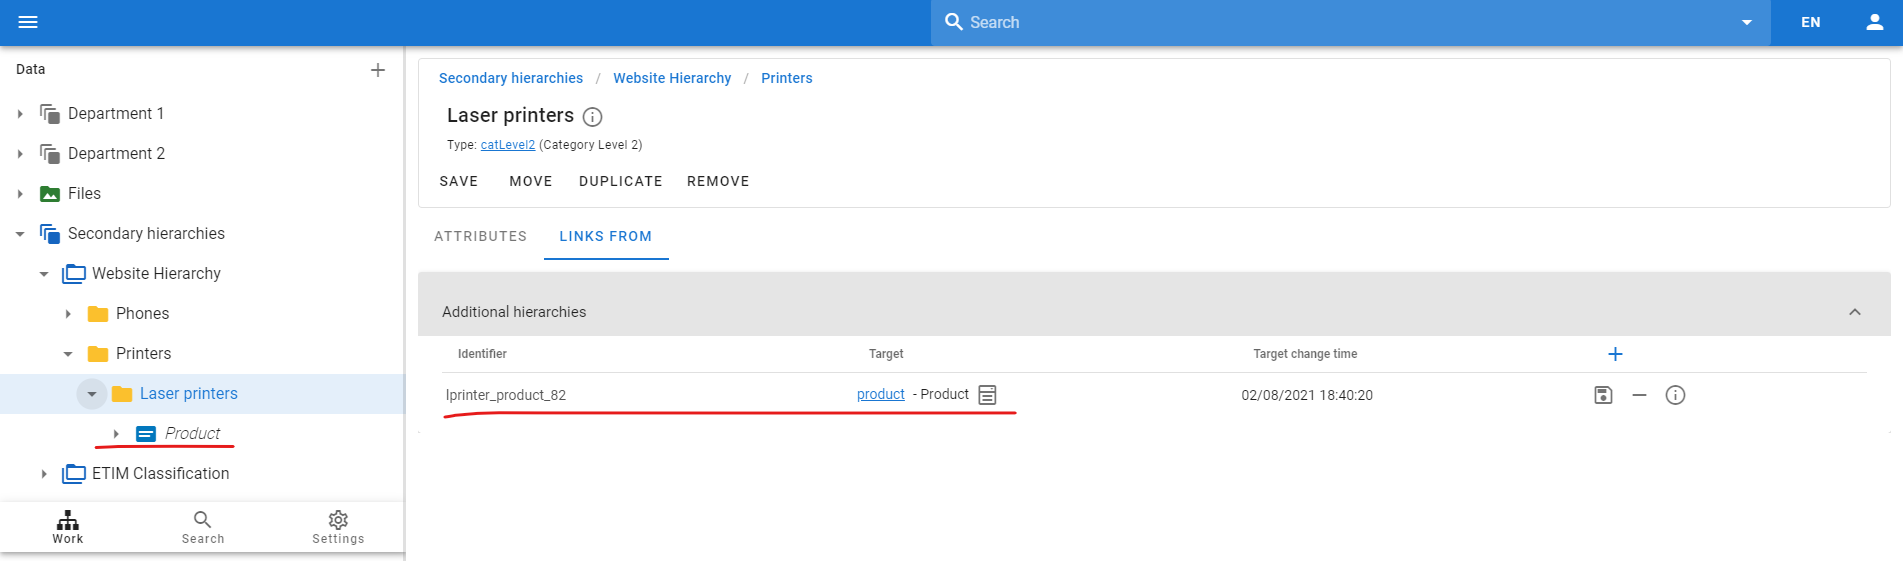
As we can see, this product is also displayed as a child of this category in the object tree due to the Visible as child option.
Relationships between products
We often have cases where a product can be related to another product. For example, a product might be a replacement for another product and you want to store this information in the PIM. Or some elements may be a spare part for some product, and again we need to save this information in the system. And so on, we can have many different types of product dependencies.
And we can use relations to store such kind of information. Let's create a relation to store product replacements:
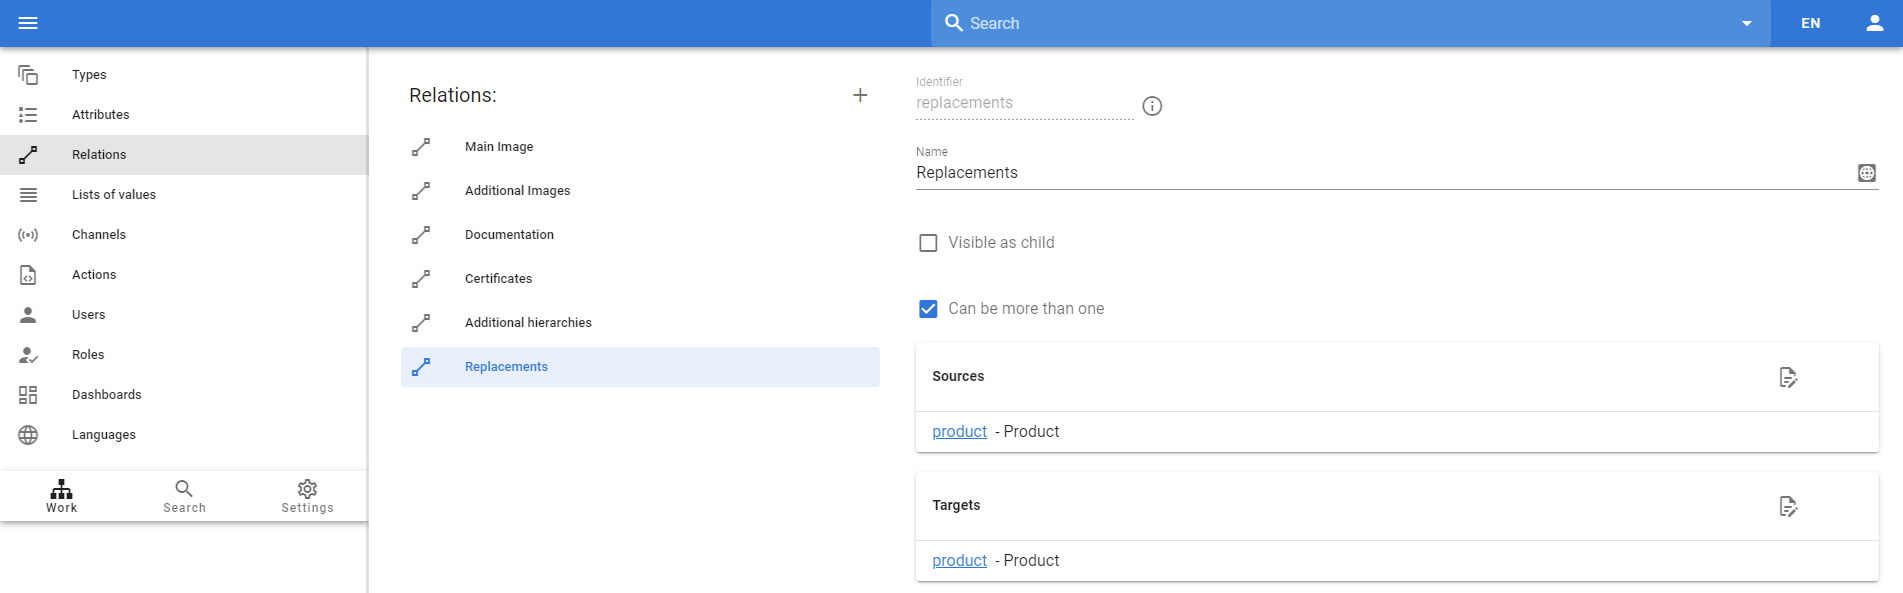
We created a relation between one product and another and called it "Replacements".
After that, we can go to any product and add another product as a replacement.
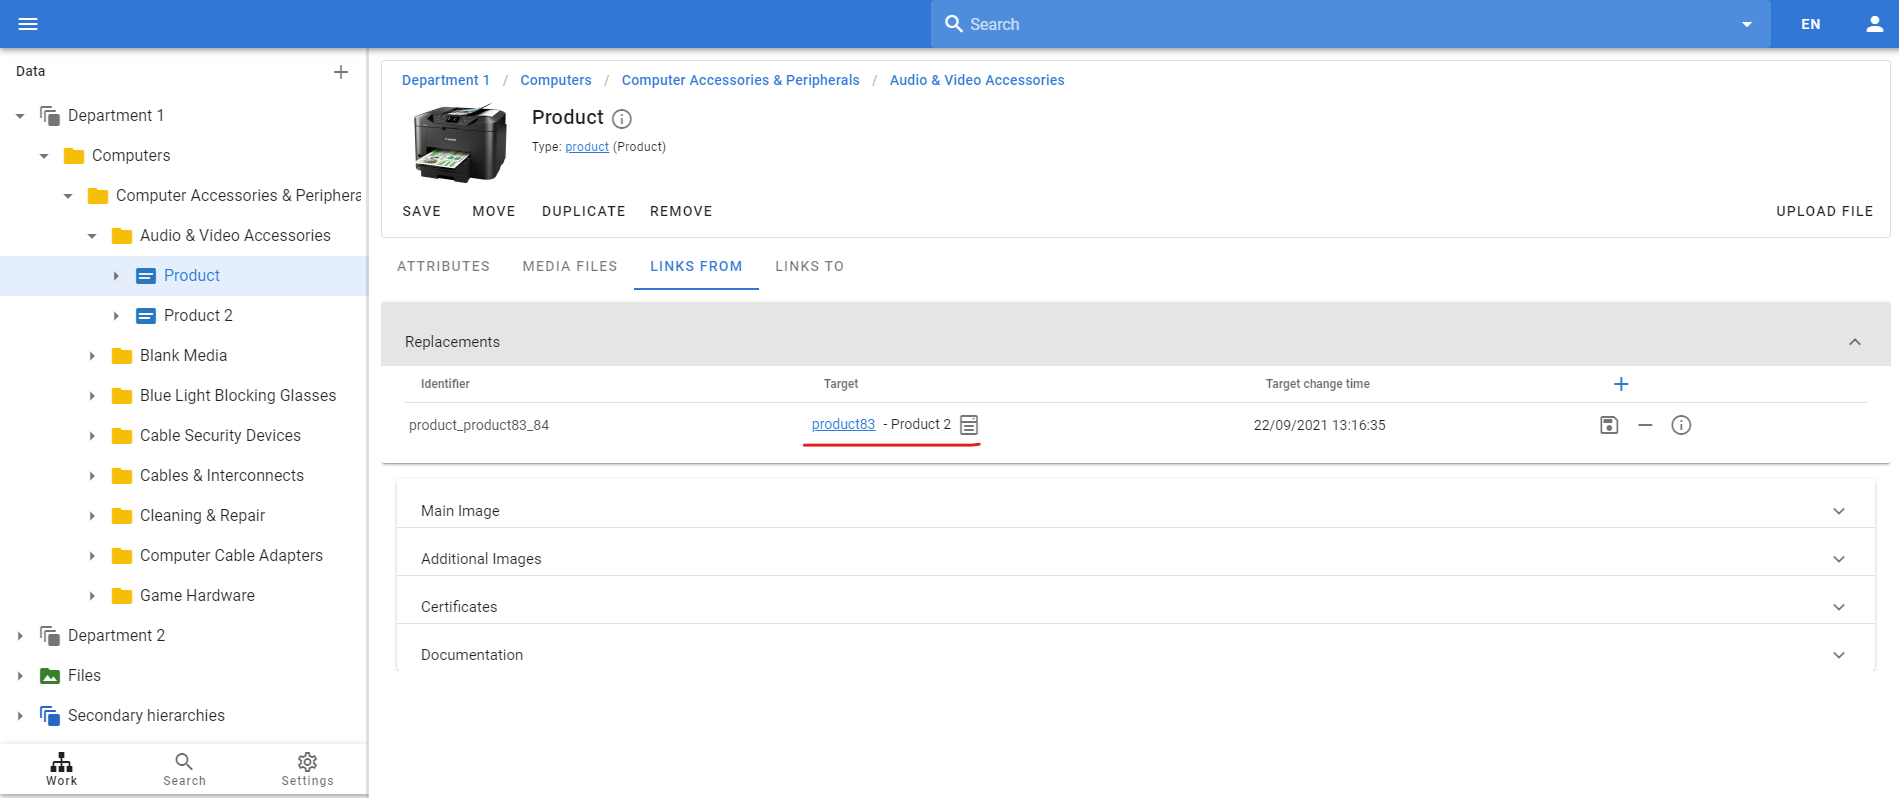
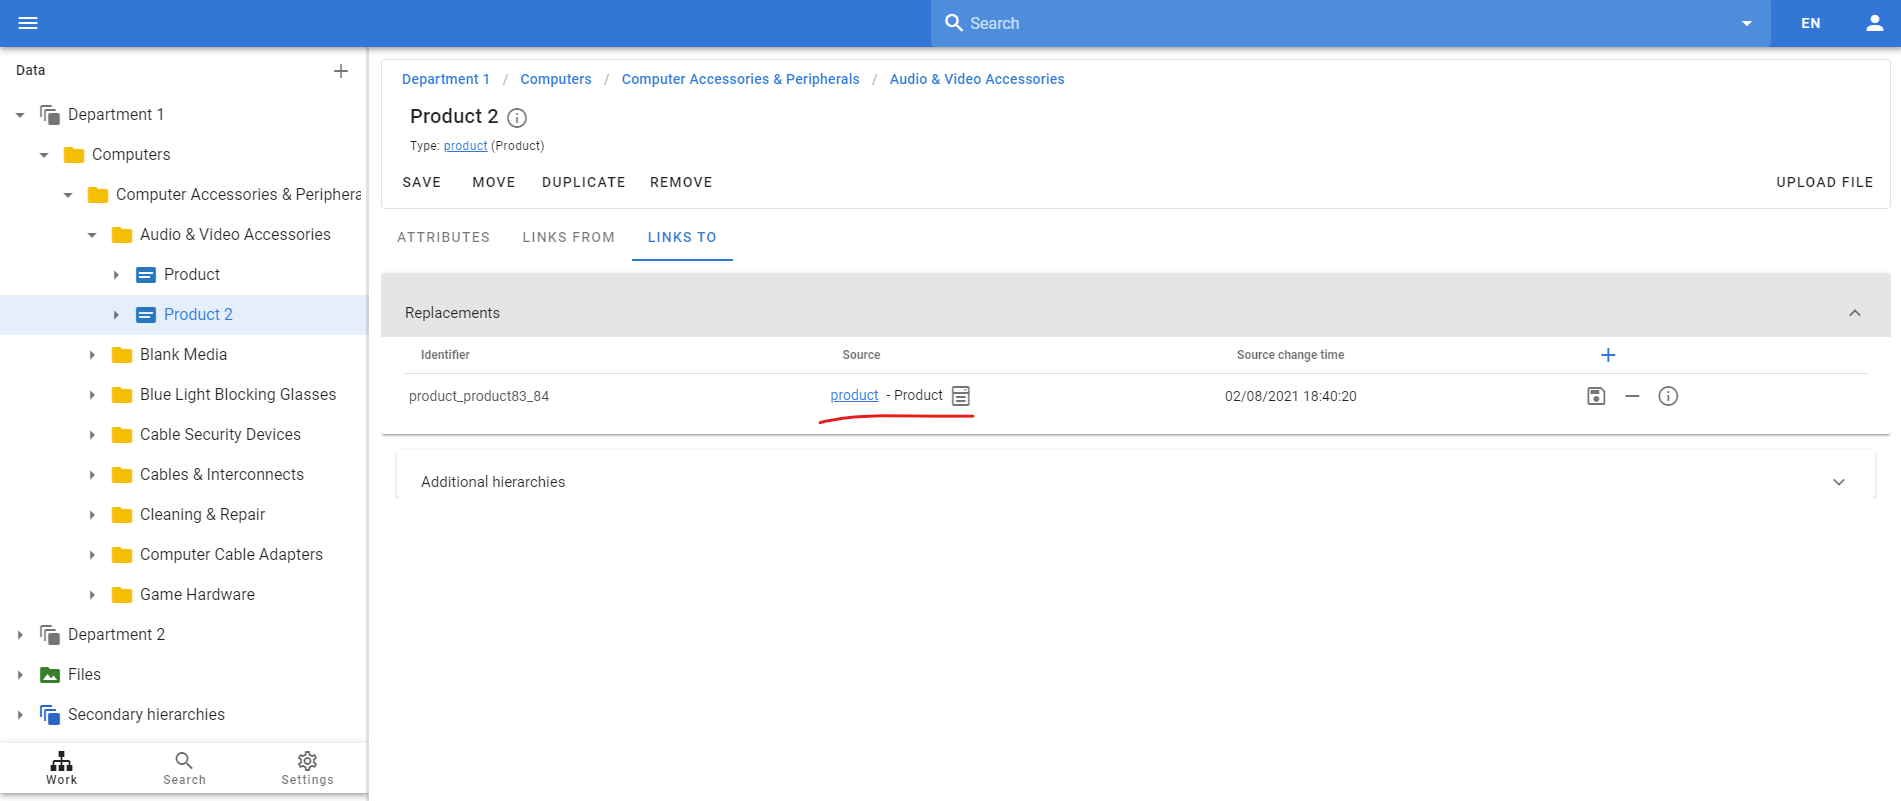
We have Product as the link source, so we can see all targets in the Links From tab. And we can see corresponding sources also from target product Product 2 but in Links To tab.
Thus, we can model any relationship between products or any other objects in the system.
Attributes on relations
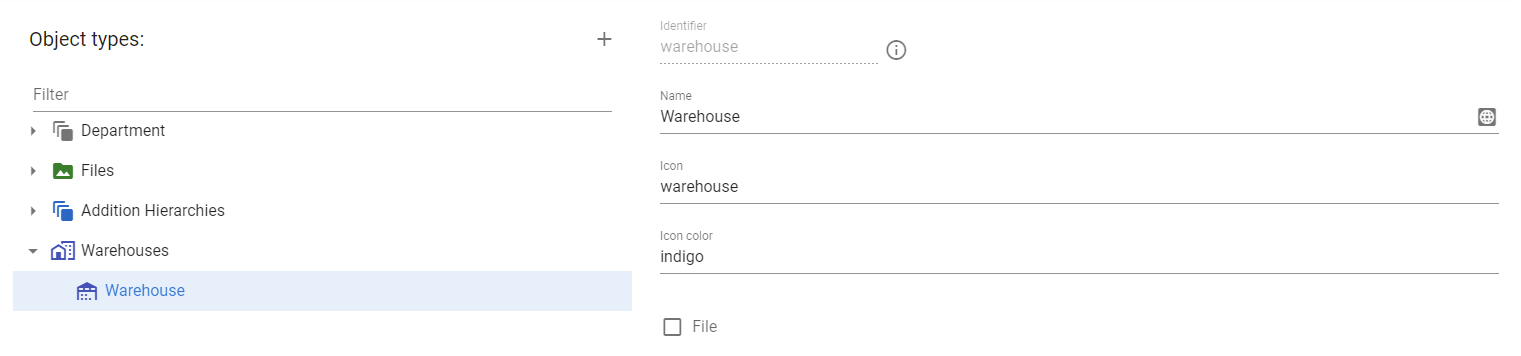
Let's imagine that we want to store warehouses in the system, as well as store the products that we have in these warehouses. Thus, we will have to create the appropriate types of storage facilities:
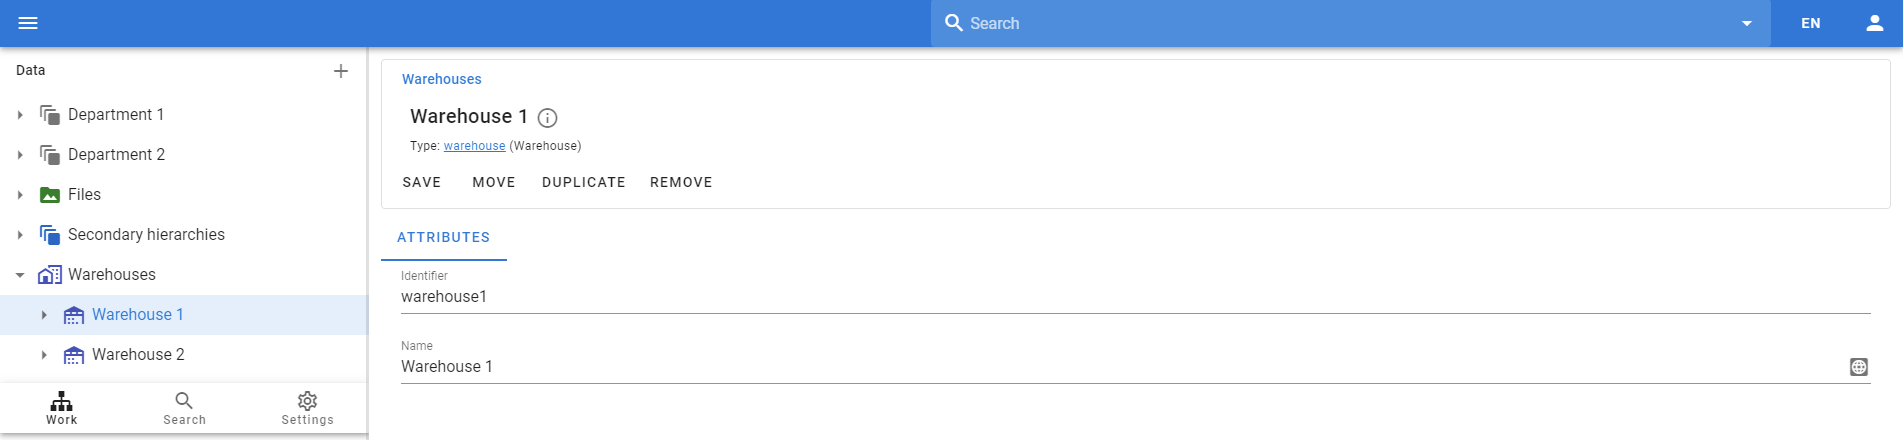
And then we can create warehouses data:
After that, we will need to create a relation to link the product to the warehouse:
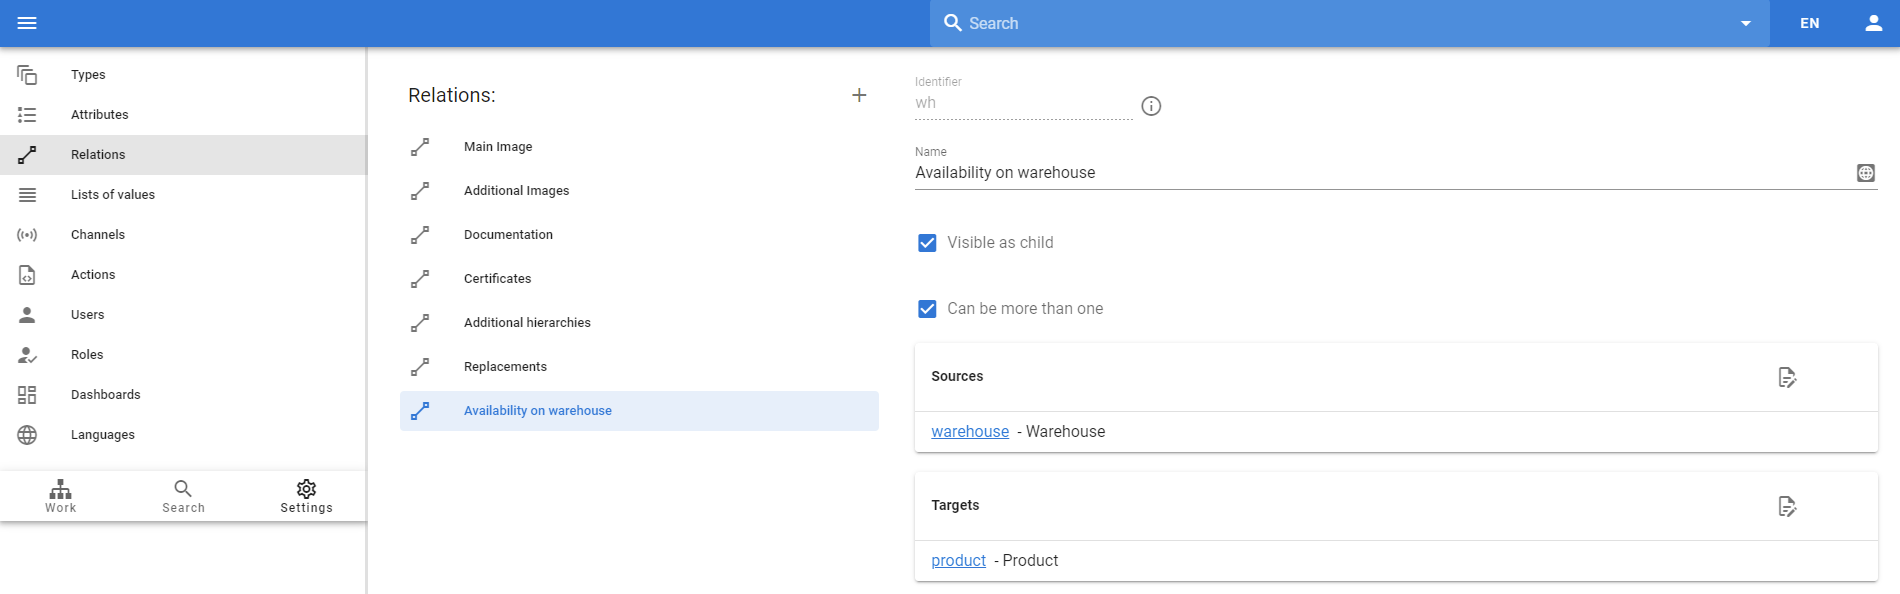
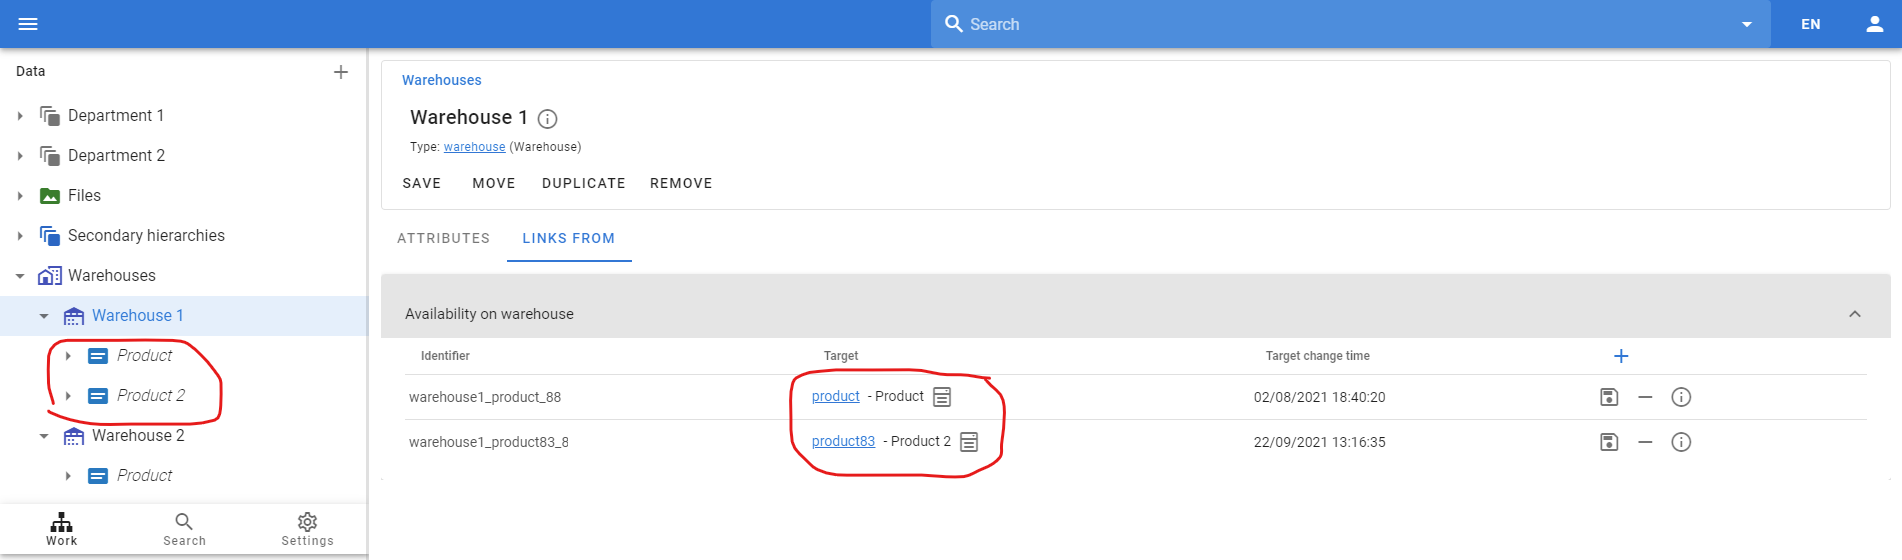
Now we can link products to our warehouses:
And now we want to store not only a link to the warehouse, but also stocks of products in each warehouse. This means that we cannot have an attribute to store the inventory level at product level, because the product inventory is different for each warehouse. Also, we cannot have this attribute in warehouse, because we can have several items in each warehouse.
We must define the attribute on the link between the product and the warehouse. How to do it? We will create the Stock Level attribute, but switch to the For Relations tab and select the relation in which we want this attribute to appear.
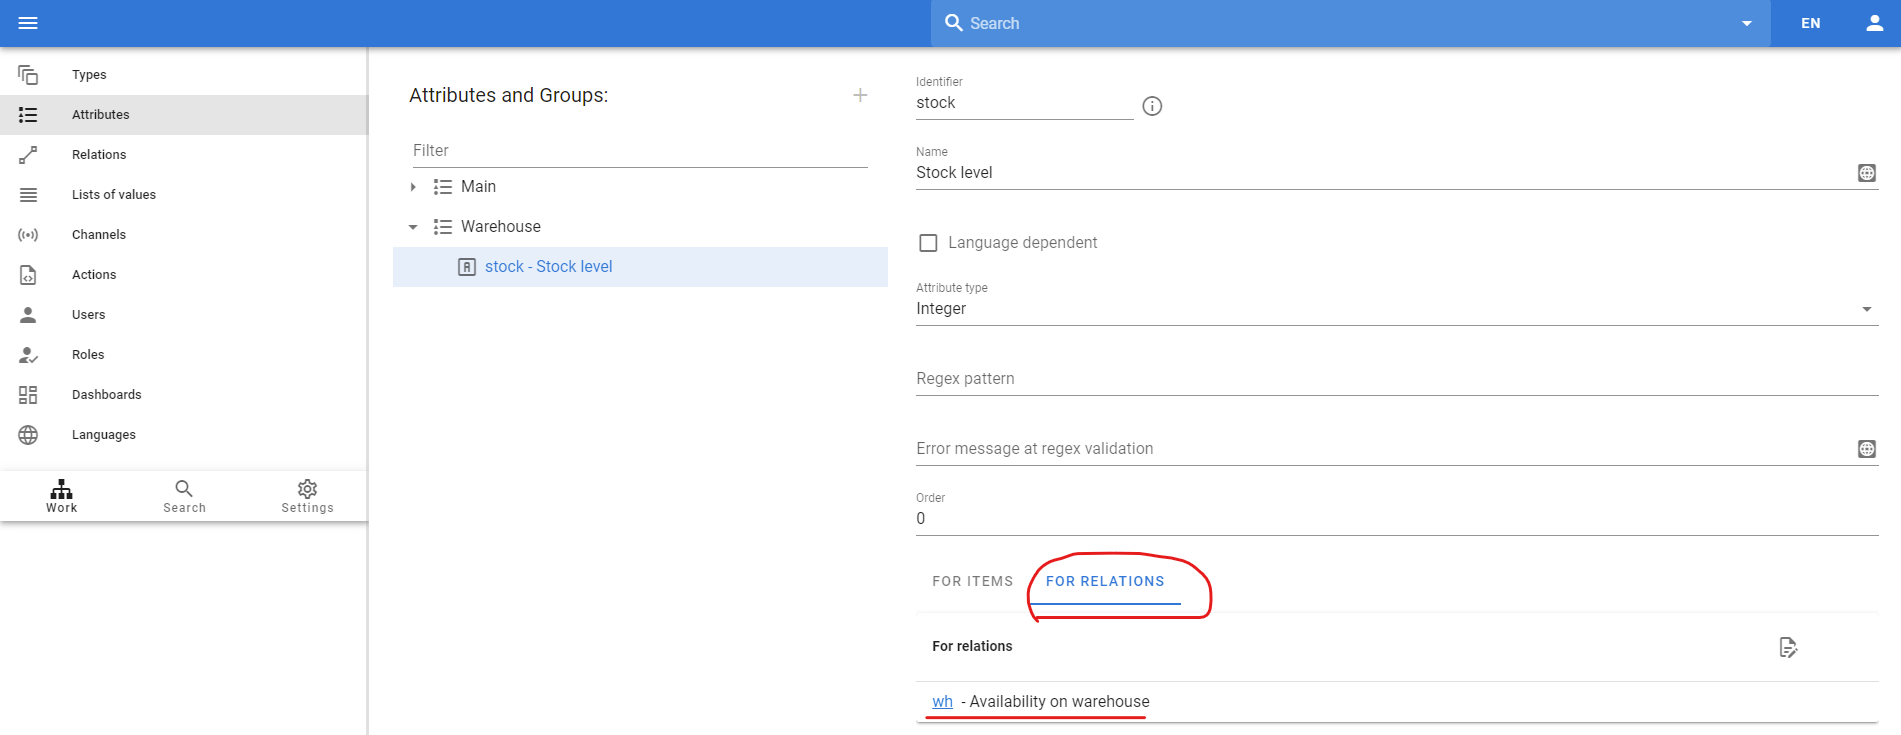
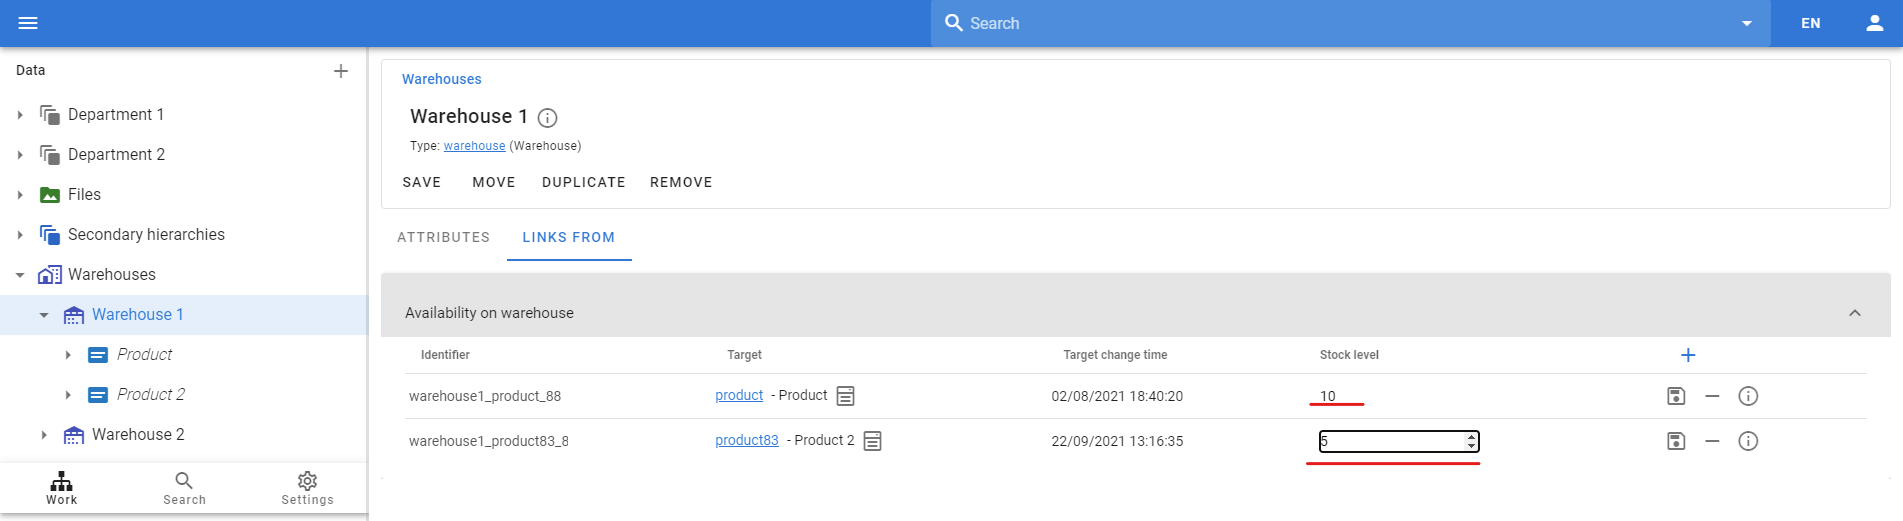
After that, we will see this attribute at the relation itself. And we will be able to determine the stock level for each item in each warehouse.
Kits and components
Another use case for relations is in the functionality of bundles and components. We often have a kit, which is a product made up of other products. Thus, we can model this as a relationship between products, where the complete product will be the source and the products within it will be the targets.
Plus, we may need to store the quantity of products for the set if we may have several of the same products in the set. And keep the order of the products in the set.
So let's create a Components relation in which we will store the constituent products:
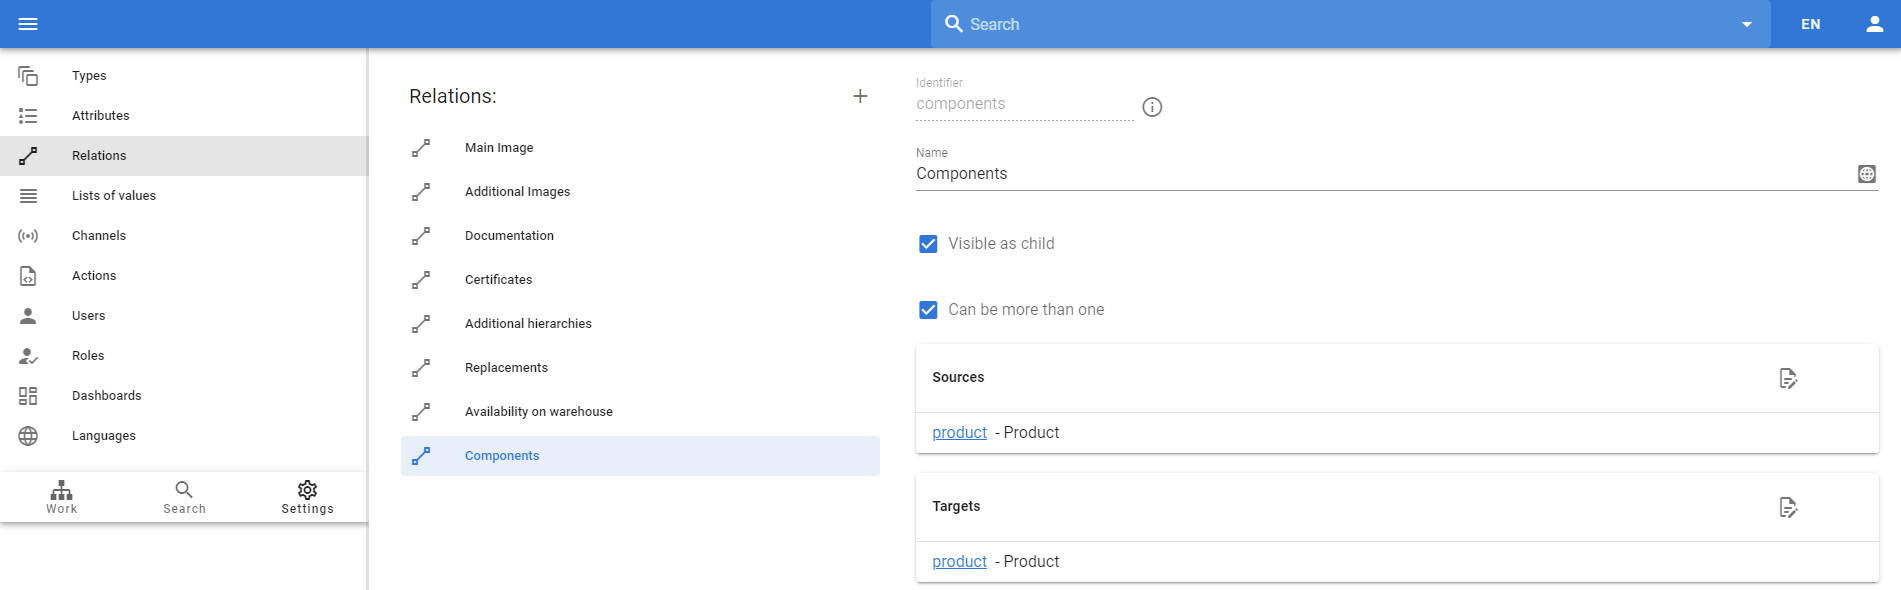
And two attributes to store the quantity of products and order them inside the set:
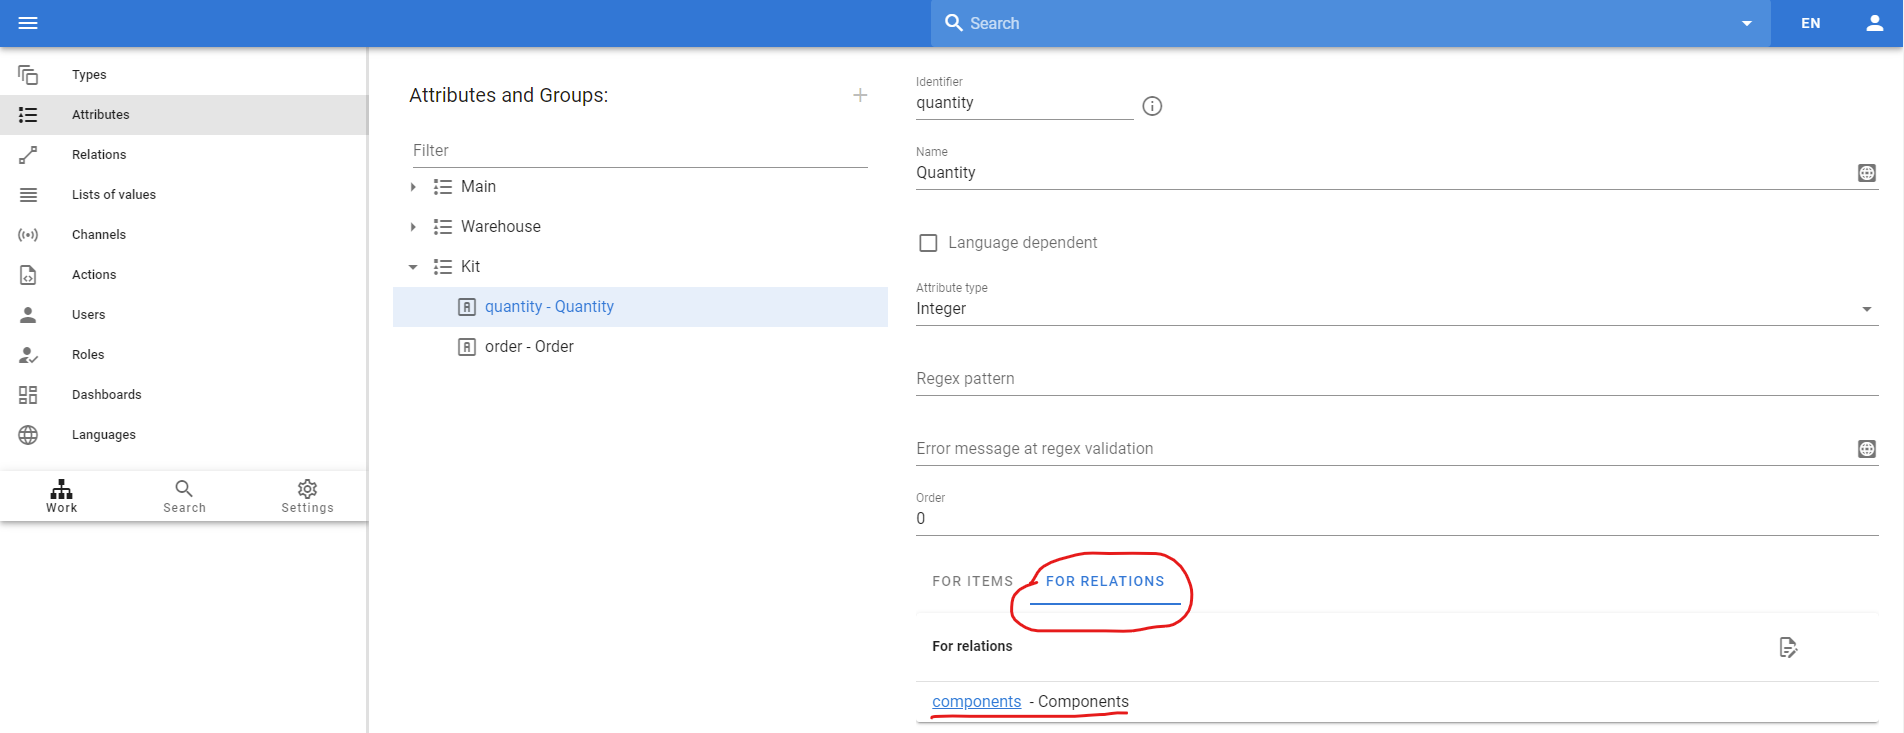
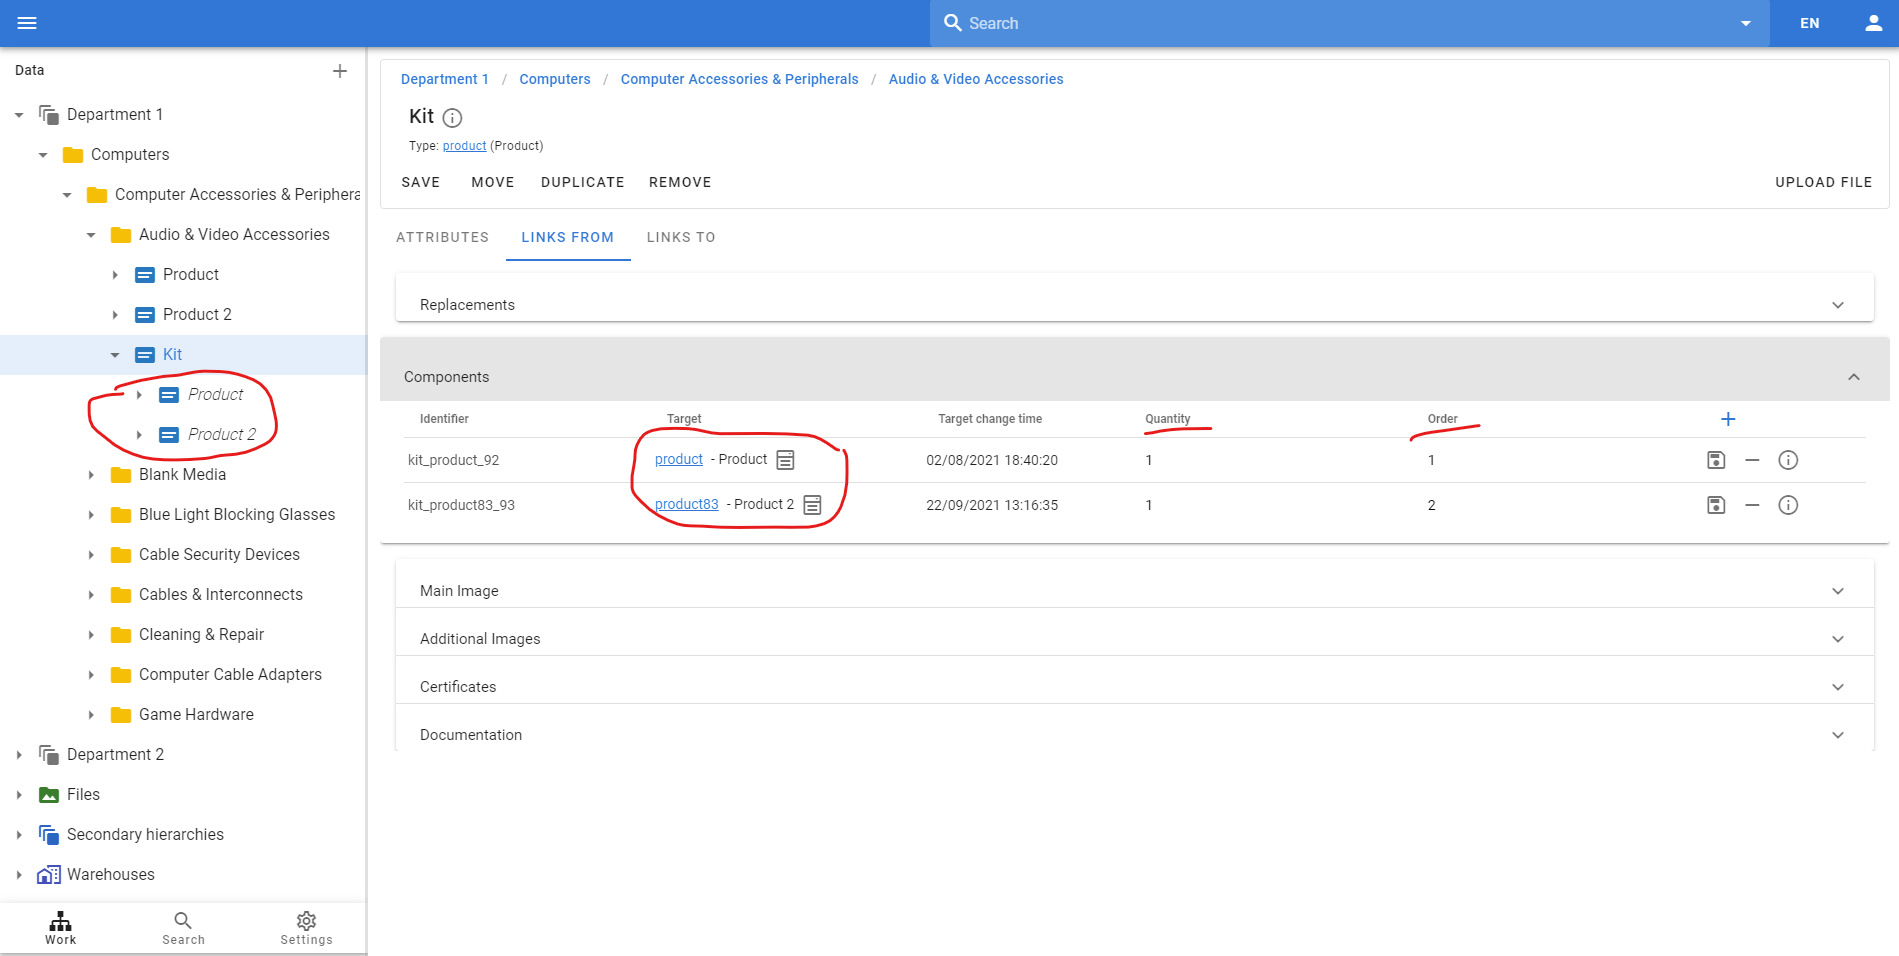
So now we can define bundles in our system and have product quantity and order as attributes:
The order of relations on the product view
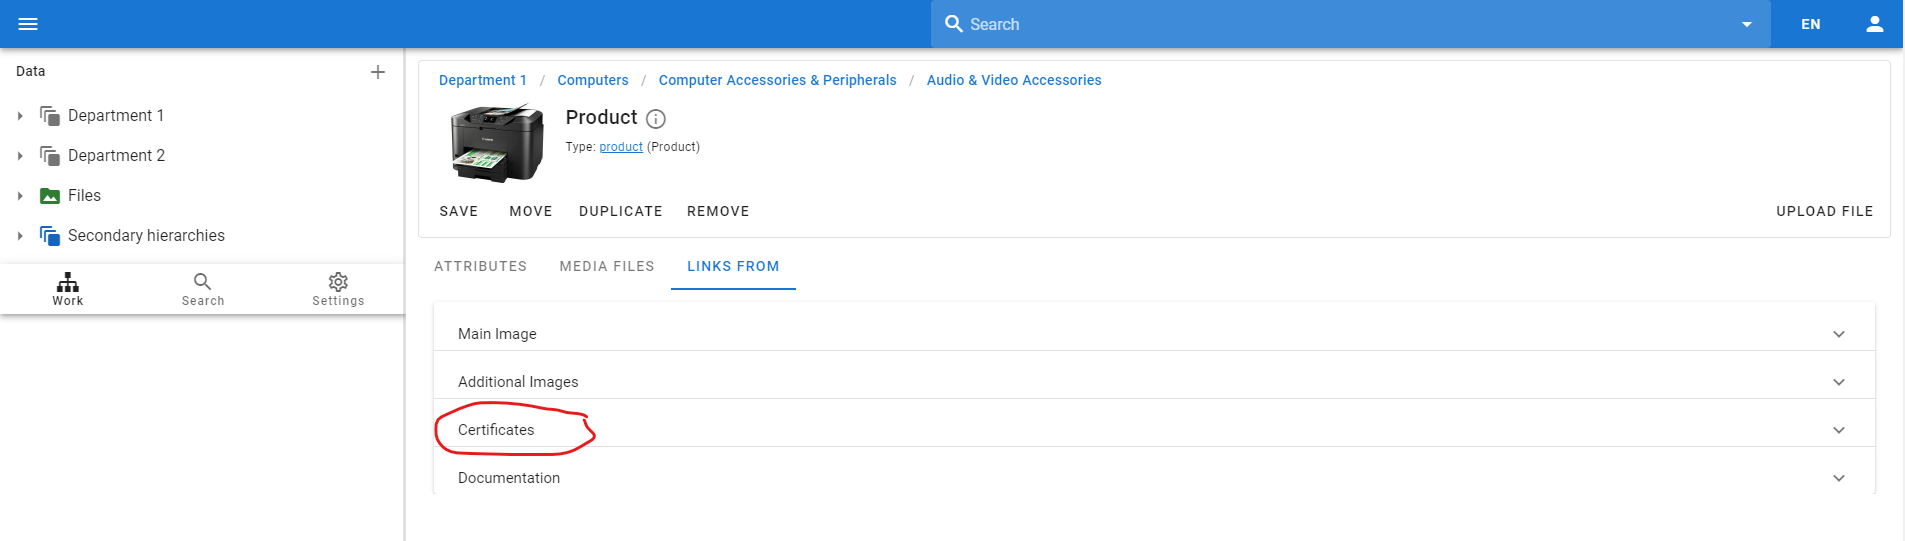
We have the following relations on the product view now:
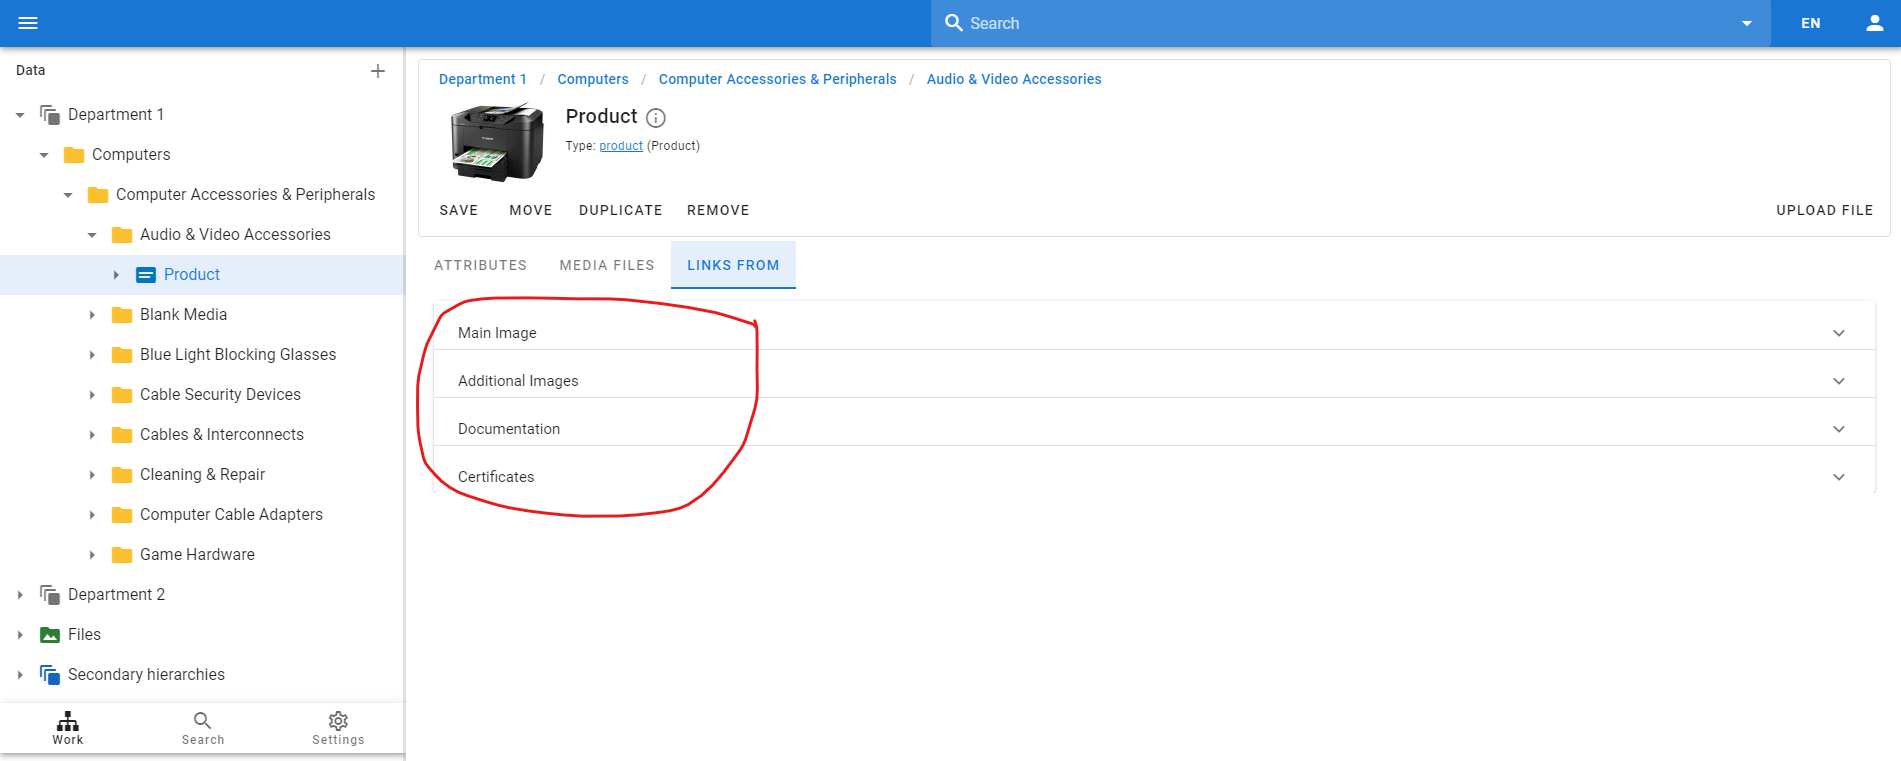
What if we want to change the order in which this relations will look? For example, we want to get Certificates before Documentation (and not after as now).
We have the ability to define the order in which the relations will be visible. We need to go to Settings and change the order of the relations.
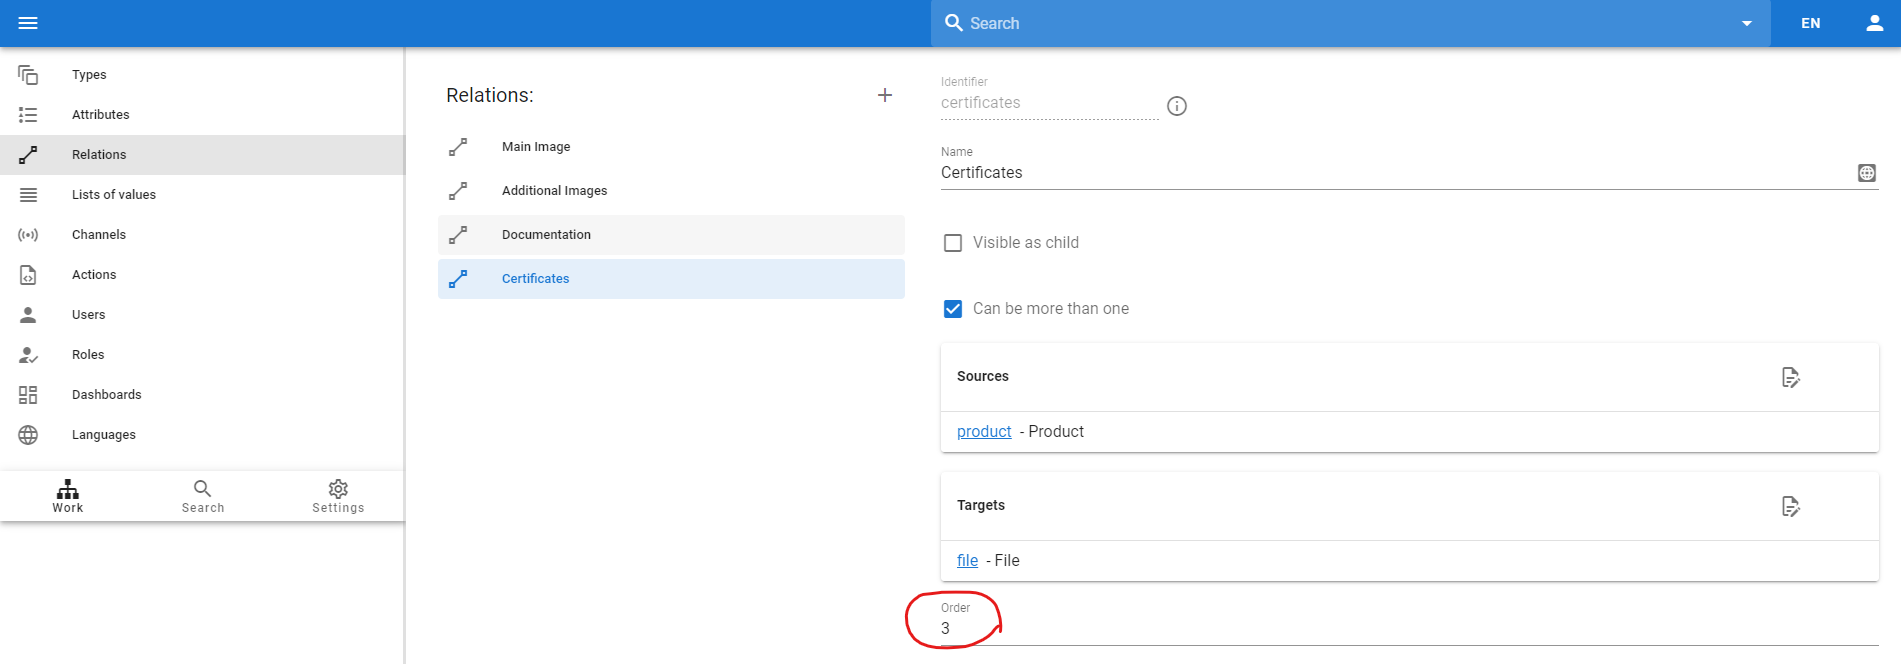
We should set 3 for Certificates and 4 for Documentation. As result we will have the order we want:
The important thing is that this order configuration will also be applied to the Media Files tab, so you will see the media in the same order.
Visual options for relations
We now have many relationships defined for our products:
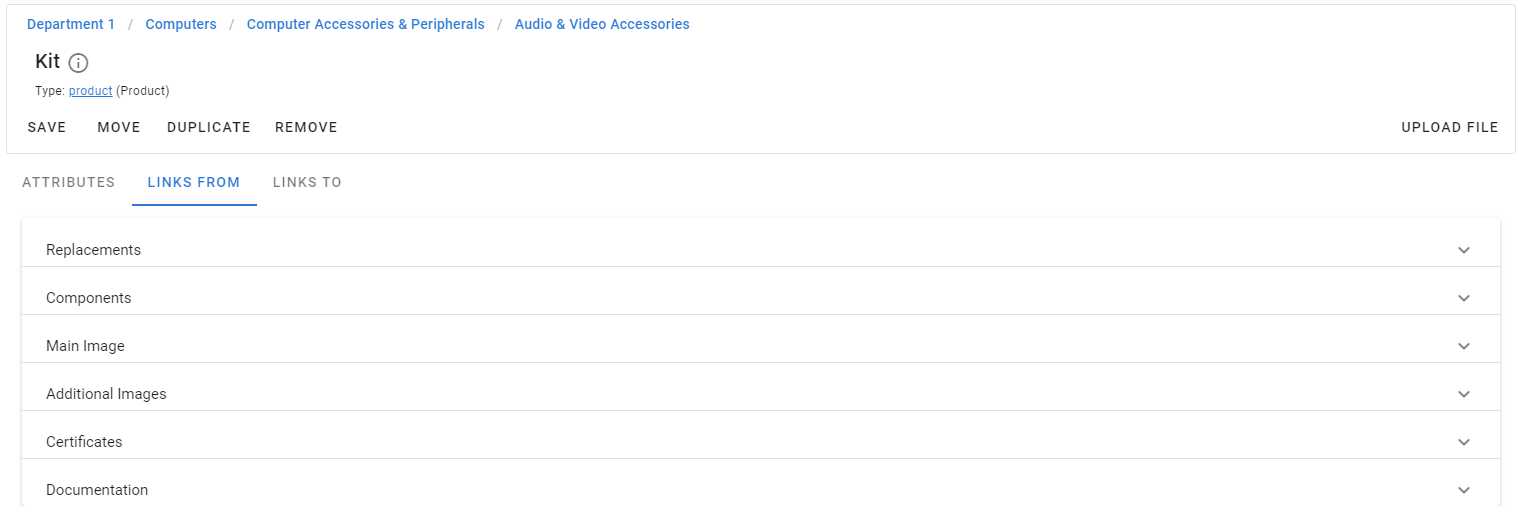
But having them listed without some visual separation is not so convenient. We can define a title and separate them:
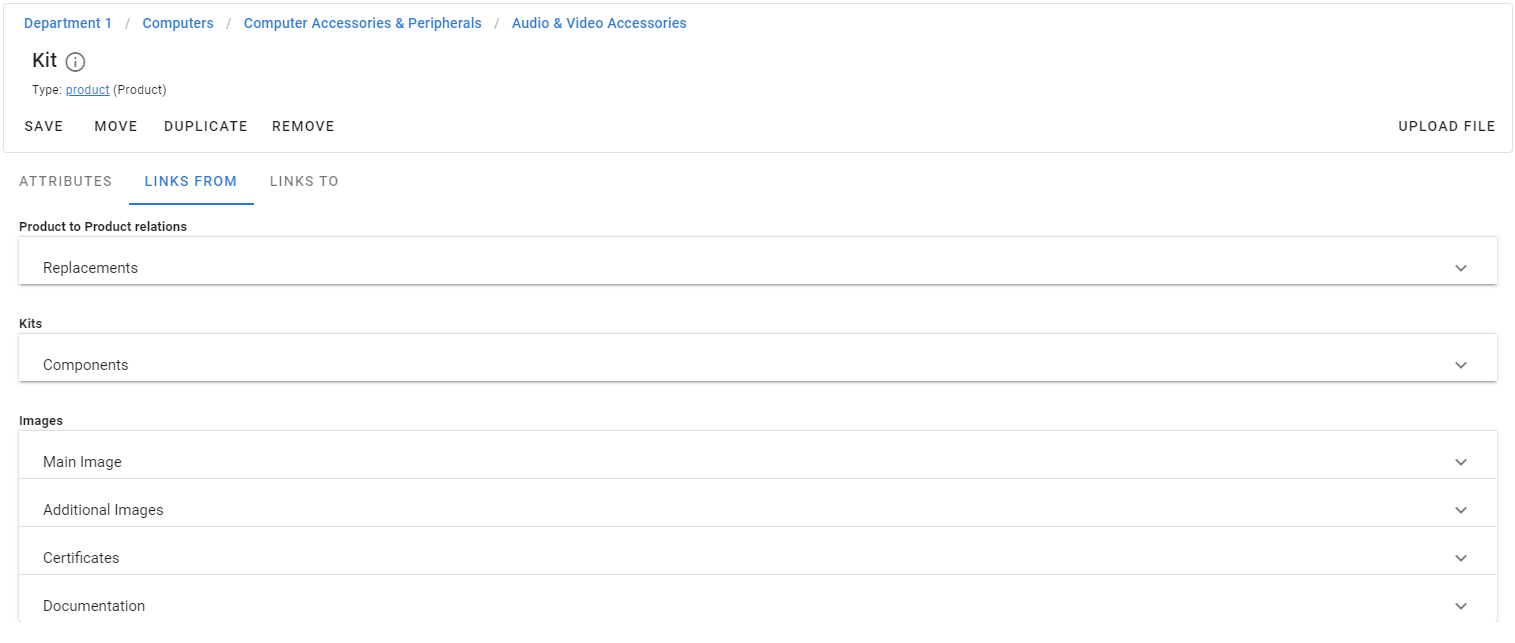
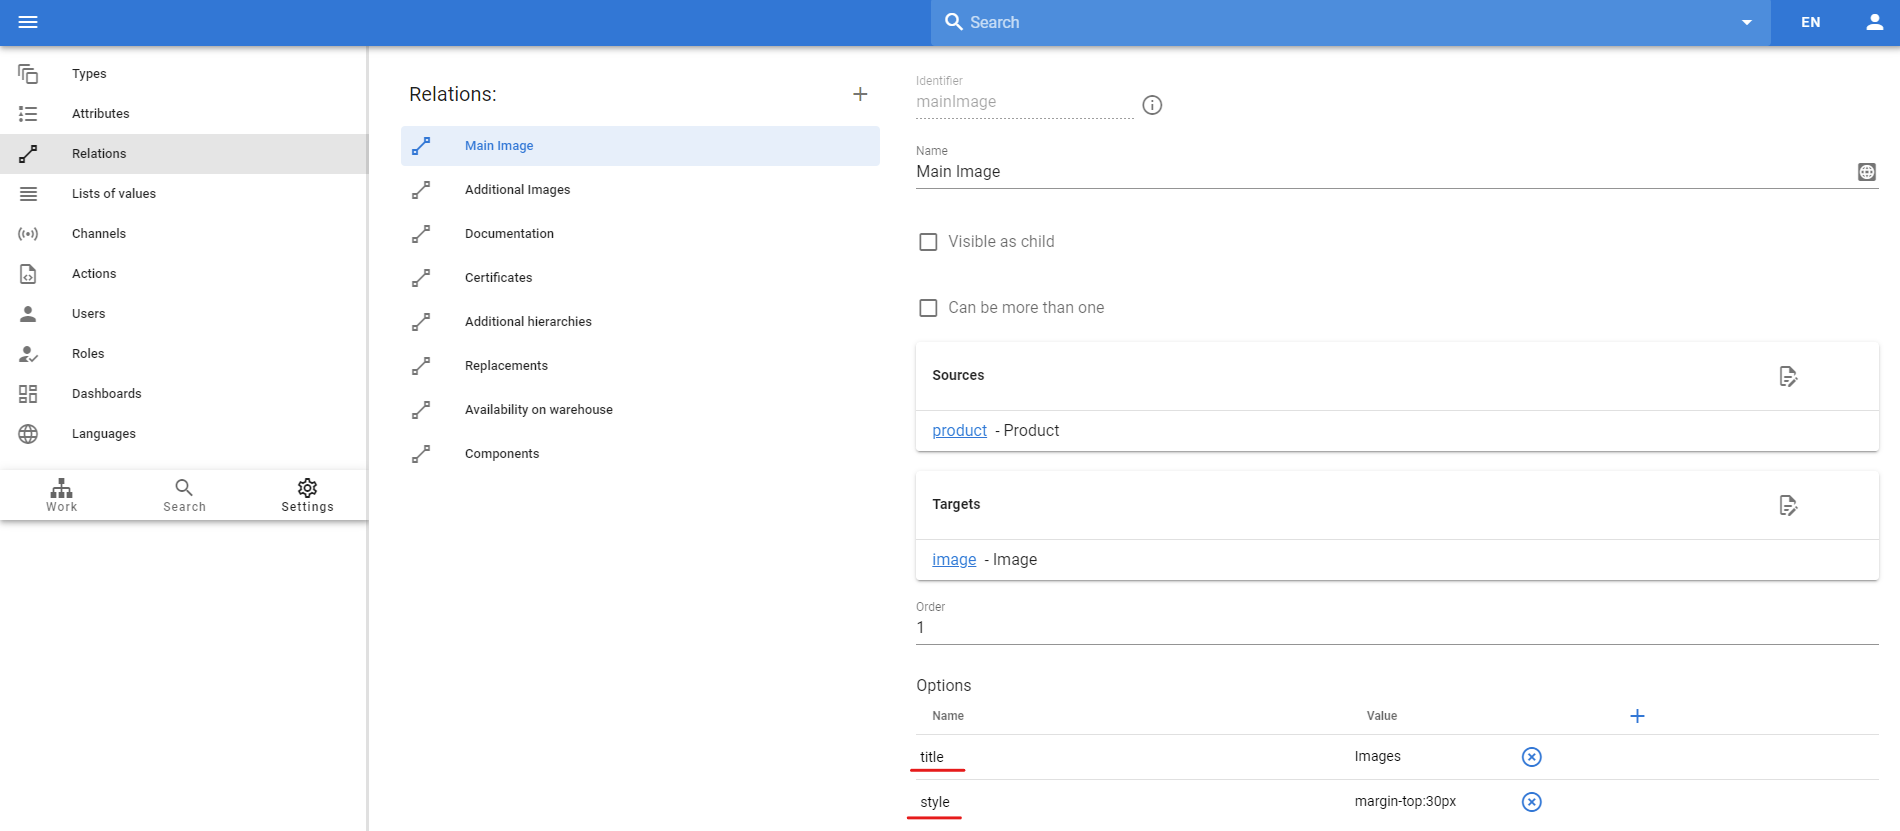
This is possible with two options:
- title - define the title that will be visible before this relation
- style is the CSS style that will be applied to this relationship component
Here's an example of what it looks like:
Conclusion
We've looked at the possible uses of relations. But this is not a complete list. You can model any relationship between any objects in the system and attach attributes to them.
For example, we can define a Brand type that will store the brand entity with associated attributes such as name, images, description, etc. And we can establish a link between a brand and a product to show those products under that brand.
And so on, you can have many examples in real life when you have different objects in the system and the link between them.